To enable us to give you our full attention during your showroom visit, please book an appointment
- Opening Hours
Showroom Open by Appointment Only
Monday - Friday 9:00am - 5:00pm
Saturday or Sunday 9:00am - 3:00pm

To enable us to give you our full attention during your showroom visit, please book an appointment
When Judith and Reed chose a herringbone LVT floor for their bungalow, the goal was clear. They wanted one floor to bring warmth, structure, and flow through the hallway, dining room, and connecting L-shaped corridor. What made the difference in this project was not just the final design, but the preparation underneath it.
In homes like this, the visible result only works when the subfloor, layout, and transitions have been properly thought through from the start.
Judith and Reed visited our showroom and chose a Harvey Maria herringbone LVT in a soft Rattan tone. It gave them the warmth they wanted, with the practicality that suits everyday life. Just as importantly, the herringbone pattern had the potential to make several connected spaces feel more settled and cohesive.
Alongside the floor choice, Judith also asked for oak thresholds. What began as a small detail for one cupboard soon developed into a more important part of the project across several doorways. There was also a practical consideration to solve. Reed found metal thresholds uncomfortable underfoot, so the transitions needed to feel safer, smoother, and easier to walk across.
Before this type of design can be fitted properly, the subfloor has to be assessed honestly. Once the existing carpet and underlay were lifted, the condition of the bungalow’s chipboard subfloor became clear. Across the connected spaces, there were height differences of around 5 to 8mm in places.
That matters on any installation, but it matters even more with herringbone. Patterned floors are far less forgiving than a straight plank layout. Small inconsistencies in the surface underneath can affect alignment, visual balance, and the overall feel of the finish.
This is often the point where a project either gets handled properly or pushed through too quickly. In this case, the right decision was to adapt the plan to protect the final result.
Karl, our fitter, recognised immediately that standard preparation would not be enough here. The chipboard base first needed plywood to stabilise it. After that, Ardex NA levelling compound was used to correct the height variation and create a flatter, more consistent surface across the installation area.
That groundwork was what made the rest of the project possible. Without it, the herringbone pattern could have drifted, the joints would have looked less consistent, and the floor would never have felt as calm and resolved as Judith and Reed wanted.
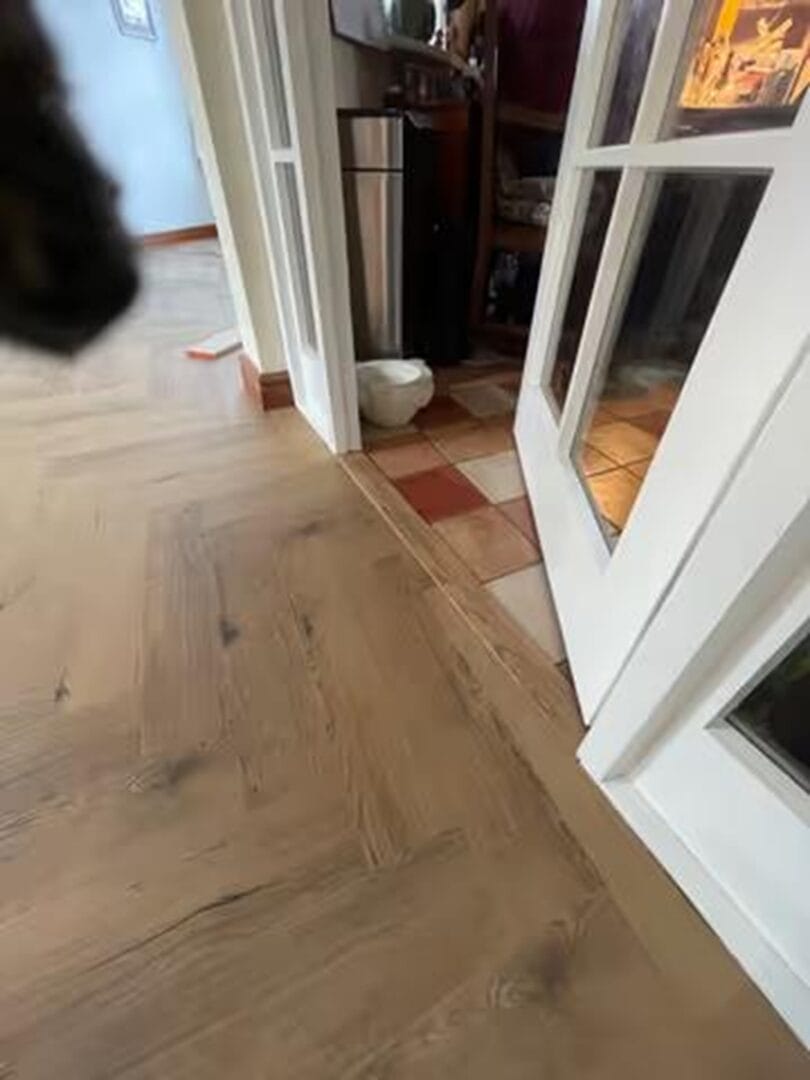
The thresholds were not a finishing touch added at the end. They had to be designed as part of the build-up from the start.
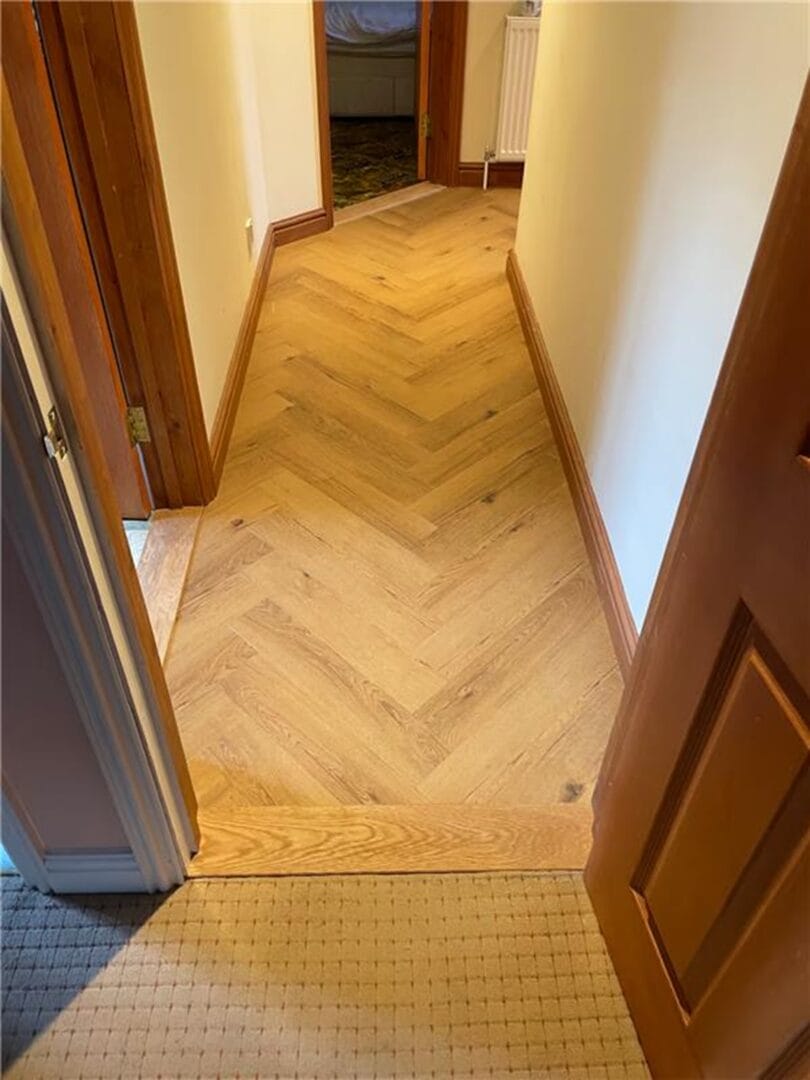
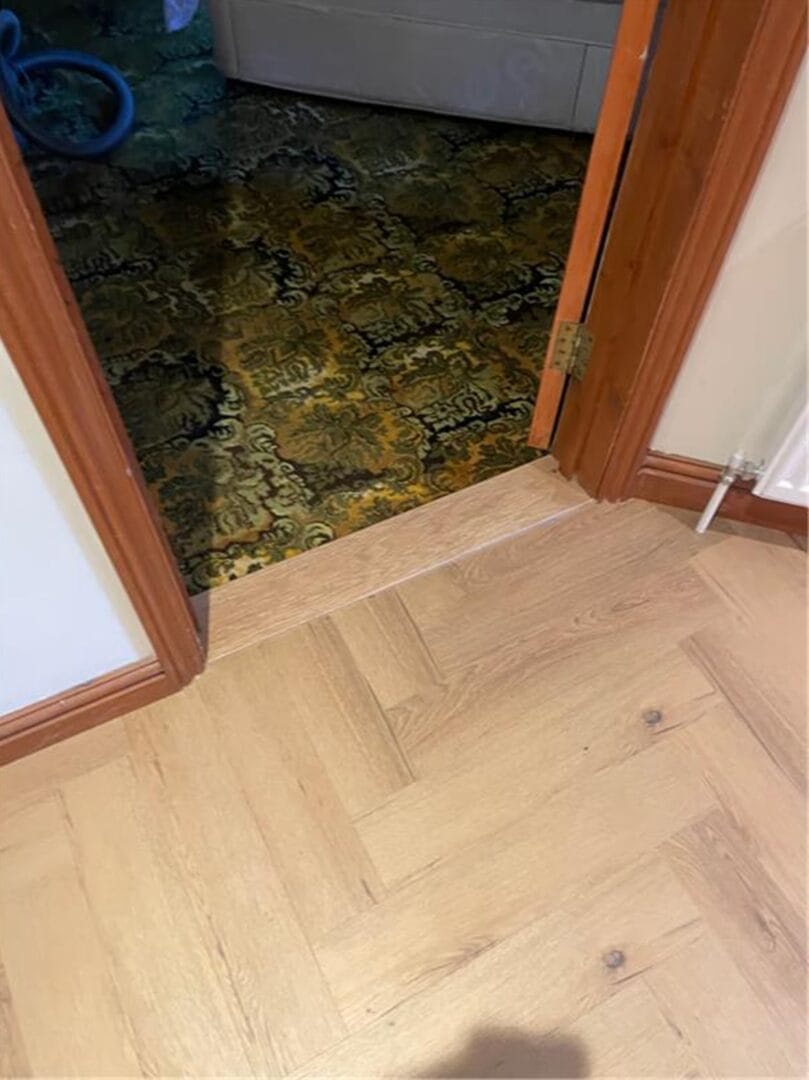
Judith’s original request developed into five bespoke oak thresholds across the property, each dealing with a slightly different transition. Karl made and fitted each one to suit its doorway and final floor height, shaping them into subtle ramps where needed so movement between rooms felt natural underfoot.
This solved two problems at once. Practically, it gave Reed a more comfortable alternative to metal thresholds. Visually, it helped the whole installation feel considered rather than pieced together.
By setting the thresholds first, the rest of the floor preparation could then be built into them cleanly. That is a far better outcome than trying to force the edges to work afterwards.
Herringbone is one of the most effective ways to add character and structure to a room, but it demands precision at every stage. The starting point has to be exact. The subfloor has to be properly level. The pattern has to travel through doorways and changes in direction without losing balance.
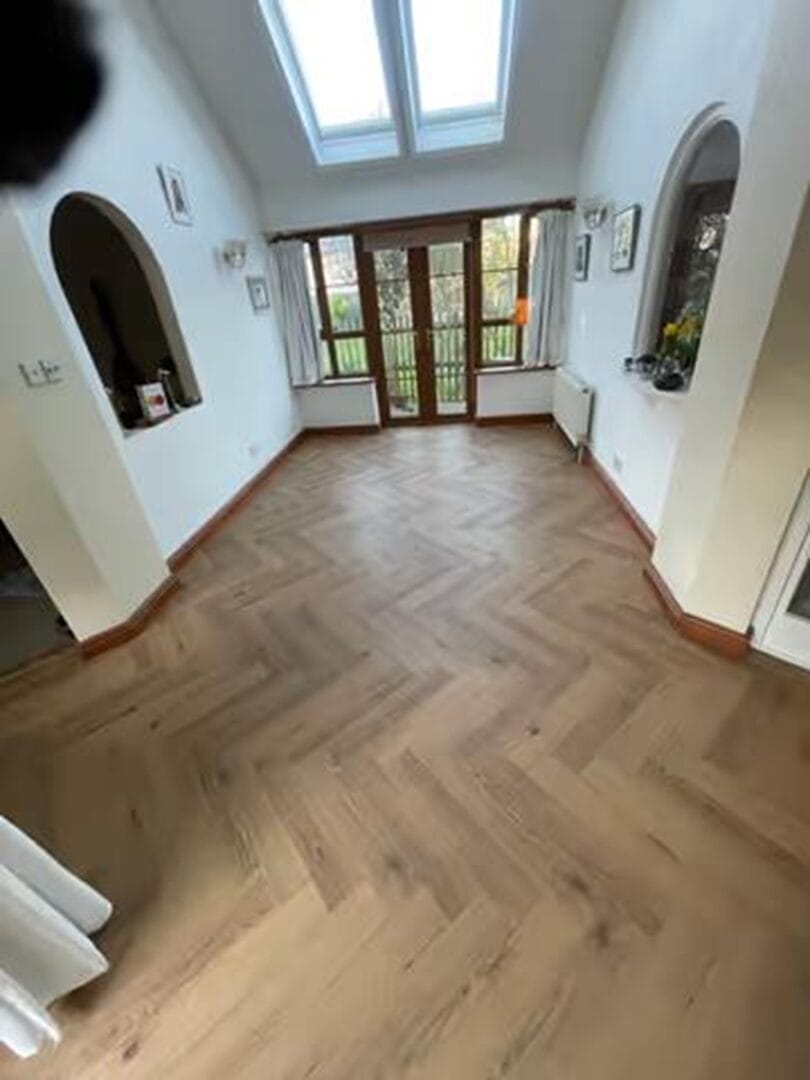
Once the floor was stabilised and levelled, Karl established a central crown line and used that as the backbone of the design. From there, the pattern could be carried through the hallway, dining room, and connecting corridor in a way that felt balanced across the bungalow’s more complex layout.
That is the difference between a floor that simply covers a surface and one that feels designed into the home.
The finished floor brought warmth, structure, and continuity to the bungalow. The soft Rattan tone worked well in the setting without feeling heavy, while the herringbone design helped unify spaces that had previously felt separate.
Just as importantly, the floor now works properly beneath the surface as well as on top of it. The subfloor was stabilised, levelled, and prepared to hold the pattern consistently across several connected rooms. The bespoke oak thresholds softened each transition and made movement through the home feel more comfortable and more considered.
This is the sort of result that comes from assessing the real condition of the floor, adapting the plan when needed, and doing the groundwork properly before focusing on the finish.
This installation is a good example of why preparation should never be treated as an afterthought.
It shows the value of responding to what is actually there once a floor is opened up. It shows why herringbone needs a stable and level base if it is going to look right over time. And it shows how smaller details, such as bespoke thresholds, can make a meaningful difference both visually and practically.
For Judith and Reed, the final result feels seamless and easy to live with. That ease came from careful decisions made much earlier in the process.
If you are thinking about herringbone LVT, the safest next step is to start with the subfloor and the transitions, not just the sample board.
Visit the showroom to compare tones and patterns in person, or book a home survey so the subfloor, layout, and thresholds can be assessed properly. In projects like this, getting the foundation right is what allows the finished floor to look good and feel right for years to come.