To enable us to give you our full attention during your showroom visit, please book an appointment
- Opening Hours
Showroom Open by Appointment Only
Monday - Friday 9:00am - 5:00pm
Saturday or Sunday 9:00am - 3:00pm

To enable us to give you our full attention during your showroom visit, please book an appointment
A floating engineered wood floor isn't fixed to the subfloor at all. Instead, the boards lock together, using either a click-lock or a tongue-and-groove system, and the whole floor rests on a layer of underlay, free to expand and contract as temperature and humidity change through the year. It's one of the quickest, least disruptive and most cost-effective ways to fit engineered wood, which is why it's become the default choice for so many home renovations.
A floating floor sits on top of the subfloor rather than being screwed, nailed or glued to it. The boards are locked to each other, not to the ground beneath, so the entire floor behaves as one connected surface that can move slightly as a unit. That freedom to move is deliberate: wood naturally expands in humid conditions and contracts in dry ones, and a floating installation gives it somewhere to do that without cracking or lifting.
Glue-down and nail-down installations fix each board directly to the subfloor, which limits movement but demands a subfloor that can take adhesive or fixings cleanly. Floating installation removes that dependency, which is partly why it's so popular for renovations where the existing subfloor isn't perfectly suited to glueing or nailing.
| Method | Fixed to subfloor? | Typical speed | Best suited to |
| Floating | No — boards interlock, floor rests on underlay | Fastest | Most rooms, renovations, floors over existing tile |
| Glue-down | Yes — full adhesive bond | Moderate | Below-grade rooms, large open spans, underfloor heating |
| Nail-down | Yes — mechanically fixed | Moderate to slow | Timber subfloors, thicker boards |
This is the method most homeowners will end up with. Boards have a mechanical locking profile milled into each edge, so one board angles or taps into the next without adhesive. It's fast to lay, forgiving of small errors, and usefully, if a single board is damaged years down the line, it can often be unlocked and replaced without lifting the whole floor. That combination of speed and reversibility is why click-lock systems have become the standard for kitchens, living rooms, hallways and bedrooms alike.
The older approach glues the tongue and groove edges of each board together as they're laid, rather than relying on a mechanical click. It's still used today, particularly with some solid-feel engineered products or where a manufacturer specifies it for a particular collection, but it's less forgiving; once the adhesive sets, a damaged board is far harder to replace cleanly.
Brands such as Kährs, Quick-Step, Boen and Woodpecker Flooring each use their own proprietary locking profiles, and the exact installation sequence how boards are angled, tapped or folded into place can vary between them. This is why it's worth reading the specific manufacturer's installation manual rather than assuming one click-lock system behaves exactly like another.
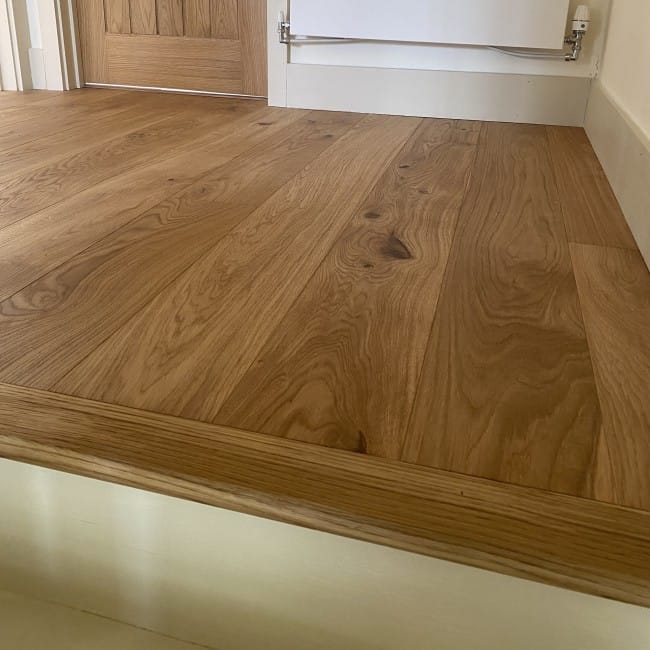
Everything starts here. The subfloor needs to be clean, level and dry before a single board goes down. Subfloor flatness is critical to the success of a floating floor installation, and moisture is checked using recognised test methods: relative-humidity testing, calcium chloride testing or calcium carbide testing rather than guesswork. The National Wood Flooring Association's installation guidelines set out the industry-accepted procedures for this stage in detail, and in the UK, BS 8201:2011 sets out the code of practice for installing wood and wood-based panel flooring, including a hygrometer test for dampness in concrete bases, the standard most reputable installers will be working to.
The underlay does more work than most people expect. Acoustic underlay reduces impact noise between floors, useful in flats or upper storeys. Foam underlay is a simple, budget option for smoothing minor subfloor imperfections. Cork underlay adds a little extra thermal and acoustic benefit. Since 2018, European regulations from the FEP (European Federation of the Parquet Industry) have set out specifications, requirements and test methods for underlays used beneath floating wood flooring, which gives some reassurance that a compliant underlay has actually been tested for the job. Over concrete subfloors, a vapour barrier is typically added beneath or built into the underlay to stop residual moisture reaching the boards.
Before any boards are locked together, the room is measured and planned so the final row isn't left awkwardly narrow. A straight starting line is set along the longest or most visible wall, and expansion spacers are placed against the wall to hold the gap while the first row goes down.
Each board locks to the next along its long edge and short end, with end joints staggered typically by around 18–20cm so the floor doesn't develop a repeating, weak seam line running across the room. Joints are checked as you go for a snug, gap-free fit, and the expansion gap around the room's edge is maintained throughout, not just at the start.
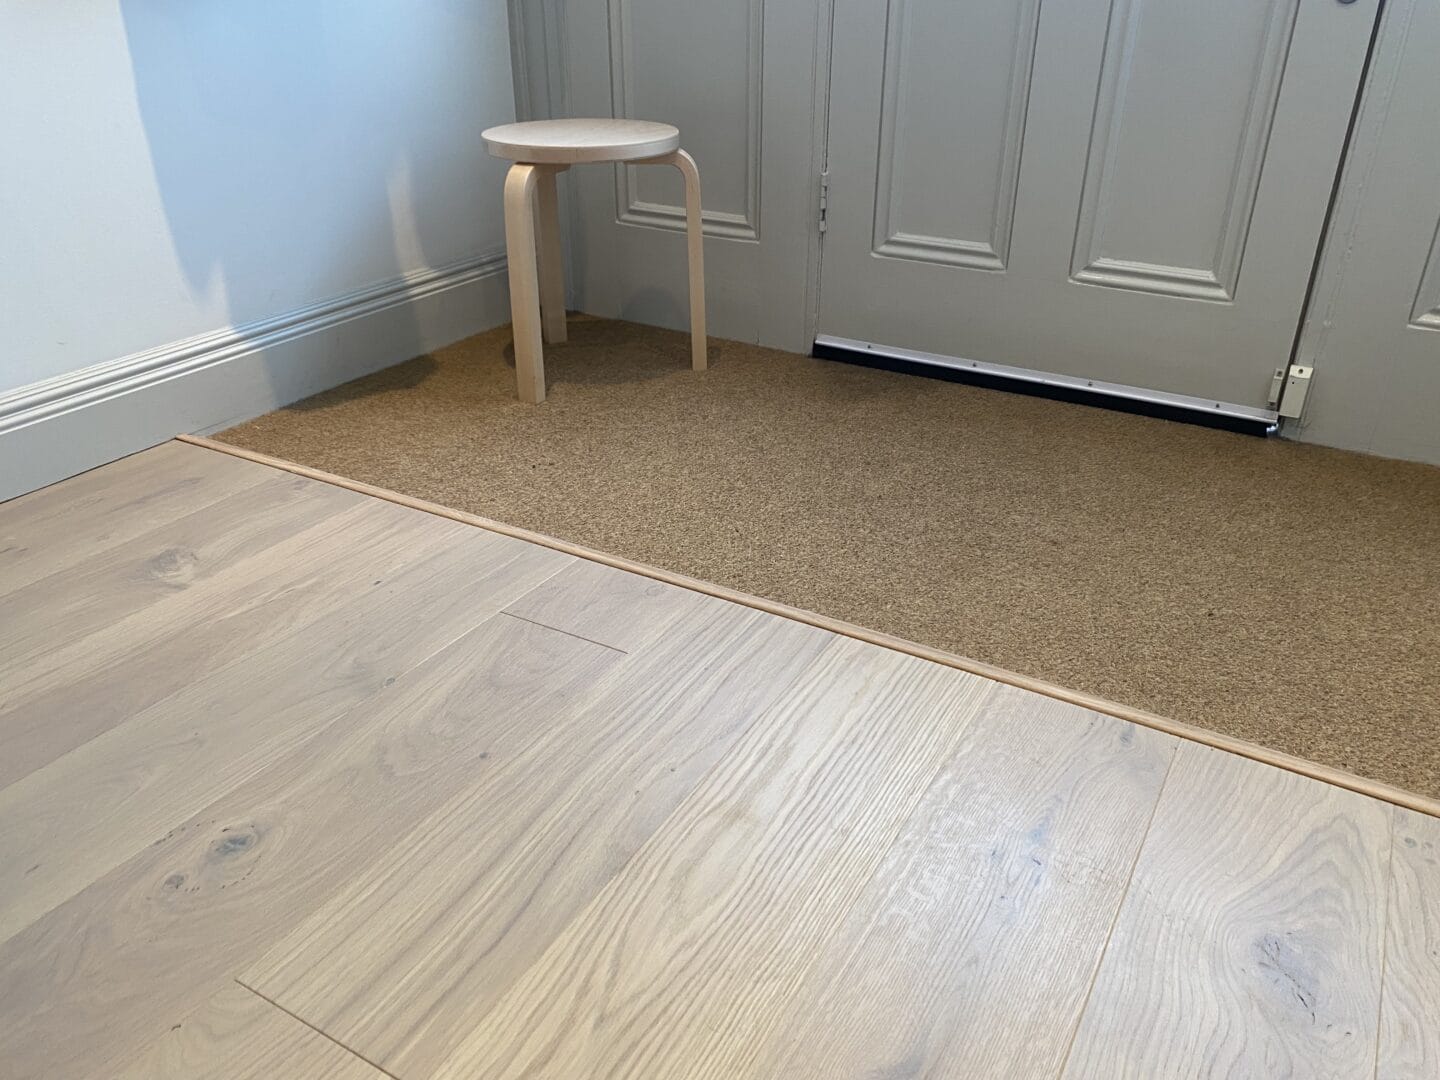
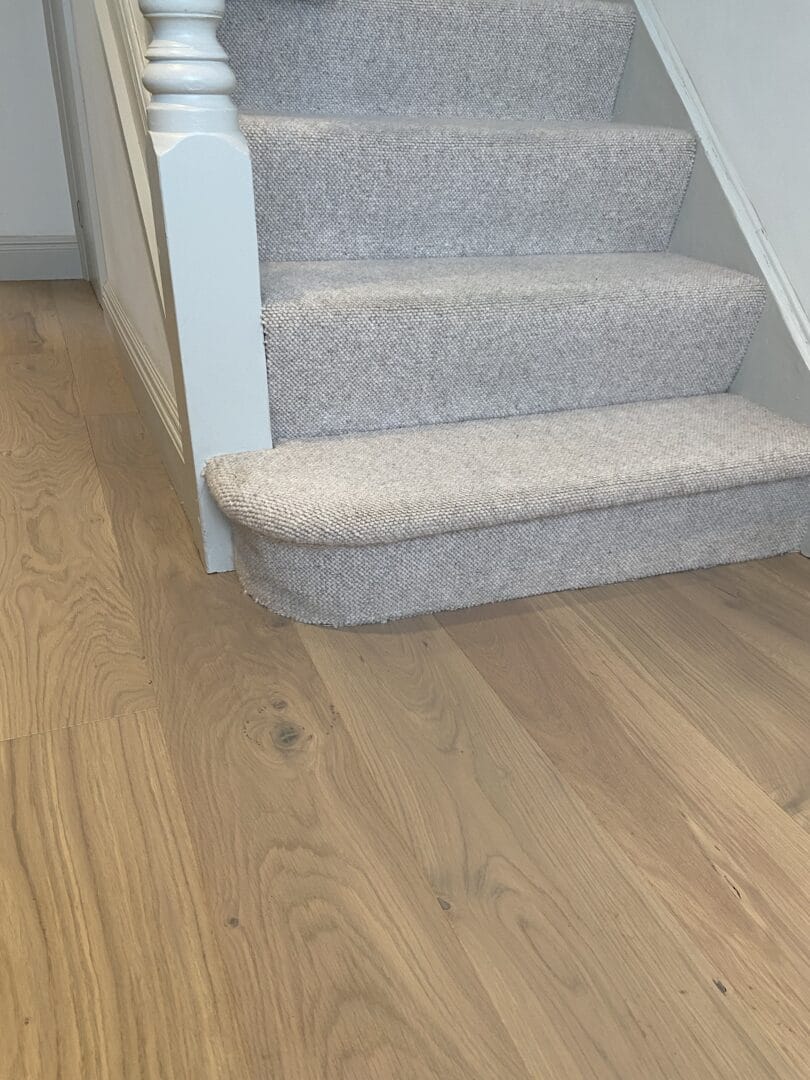
The final stages are where patience pays off: cutting boards accurately around doorframes, pipework and thresholds, and finishing with skirting boards or scotia trim to conceal the expansion gap around the perimeter.
Faster installation - with no adhesive drying time or nailing, a floating floor can often be laid in a day or two for an average room.
Lower installation costs - less specialist labour and material (no adhesive, no fixings) generally means a lower fitting cost than glue-down or nail-down methods.
Easier future repairs - a damaged click-lock board can often be replaced individually rather than requiring the whole floor to come up.
Less impact on existing subfloors - because nothing is glued or nailed down, floating installation is well suited to laying over existing tile or a subfloor you'd rather not damage.
Suitable for many home renovations - it adapts well to older properties, uneven groundworks, and rooms where a full subfloor replacement isn't practical.
No installation method is without trade-offs, and it's worth going into a floating installation with eyes open:
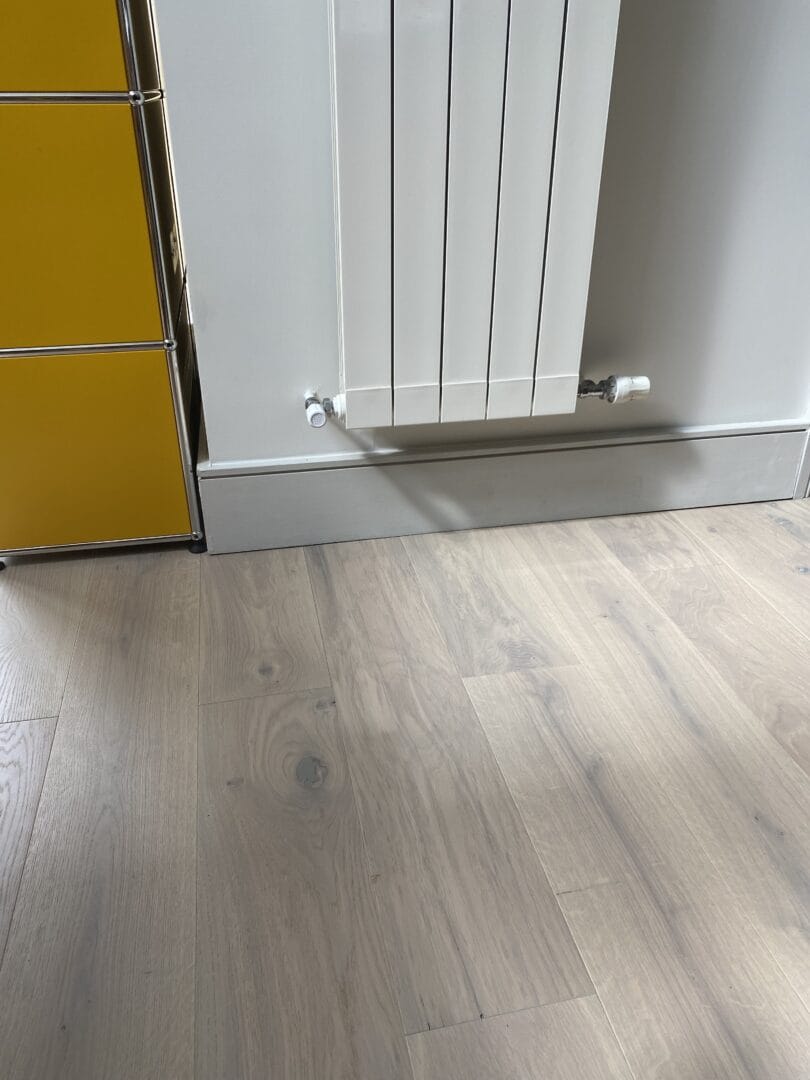
Underlay isn't an afterthought; it's part of the flooring system, and the wrong choice can undermine even a well-laid floor.
A denser, purpose-made acoustic underlay reduces footfall noise, which matters most in flats, first-floor rooms, and homes with more than one storey.
Underlays with an integrated vapour barrier, or a separate polythene sheet laid beneath, protect the boards from residual moisture rising through a concrete subfloor.
A thin layer of thermal insulation can make a real difference to how a room feels underfoot, though this needs balancing against underfloor heating compatibility (see below).
This is where underlay choice gets more technical. Manufacturer guidance for underfloor heating consistently points to two things: a low thermal resistance underlay so heat can pass through efficiently, and a generous expansion gap to handle the extra movement caused by heat cycling. Most engineered wood manufacturers cap the maximum floor surface temperature at around 27°C, and a minimum expansion gap of 15–20mm around walls, columns and fixed objects is a common baseline, though this varies by product, so always check the specific manufacturer's figures.
| Underlay type | Best for | Watch out for |
| Foam | Budget projects, minor subfloor imperfections | Limited acoustic or thermal performance |
| Acoustic/combination | Flats, upper floors, noise-sensitive homes | Slightly higher cost |
| Cork | Thermal comfort, natural material preference | Not always compatible with underfloor heating |
| Underfloor-heating rated | Rooms with UFH | Must match the manufacturer's maximum thermal resistance value |
Concrete needs to be fully cured and tested for residual moisture before installation. New concrete slabs can take weeks or months to dry sufficiently, even when they feel dry to the touch.
Timber subfloors should be checked for loose boards, squeaks and unevenness, with any high spots sanded down and low spots levelled before the underlay goes down.
One of the practical advantages of floating installation is that it can often go directly over sound, level existing tile, saving the time and mess of ripping it out, provided the tile itself is stable and flat.
Manufacturers typically specify a maximum tolerance for subfloor flatness (often measured over a set distance, such as 3mm over 2 metres). Self-levelling compound is the usual fix for anything outside that tolerance.
Testing isn't a box-ticking exercise; it's what protects the investment. NWFA guidelines specify that the difference in moisture content between the subfloor and the flooring should be no more than 4%, and getting this wrong is one of the most common causes of early floor failure.
| Factor | Floating | Glue-Down | Nail-Down |
| Fixed to subfloor | No | Yes, fully bonded | Yes, mechanically |
| Typical installation speed | Fastest | Moderate | Moderate to slow |
| Suitable subfloors | Concrete, timber, existing tile | Concrete, plywood | Timber subfloors |
| Underfloor heating | Possible with correct underlay | Often preferred for best heat transfer | Less common |
| Repairability | Individual boards often replaceable | Difficult once bonded | Difficult once fixed |
| Noise underfoot | Can sound hollow without good underlay | Generally quieter, solid feel | Solid feel |
Each method has its place. Floating tends to suit renovation projects and rooms without underfloor heating; glue-down is often the choice for larger, open-plan spaces or rooms with underfloor heating where maximum heat transfer matters; nail-down remains common over suitable timber subfloors.
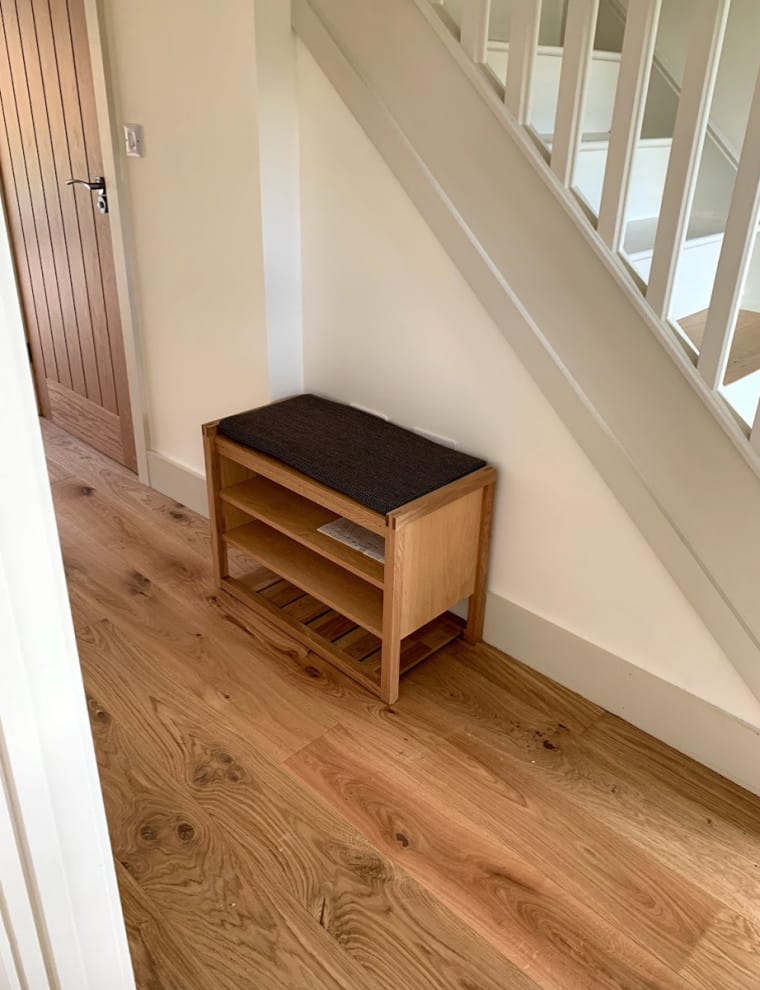
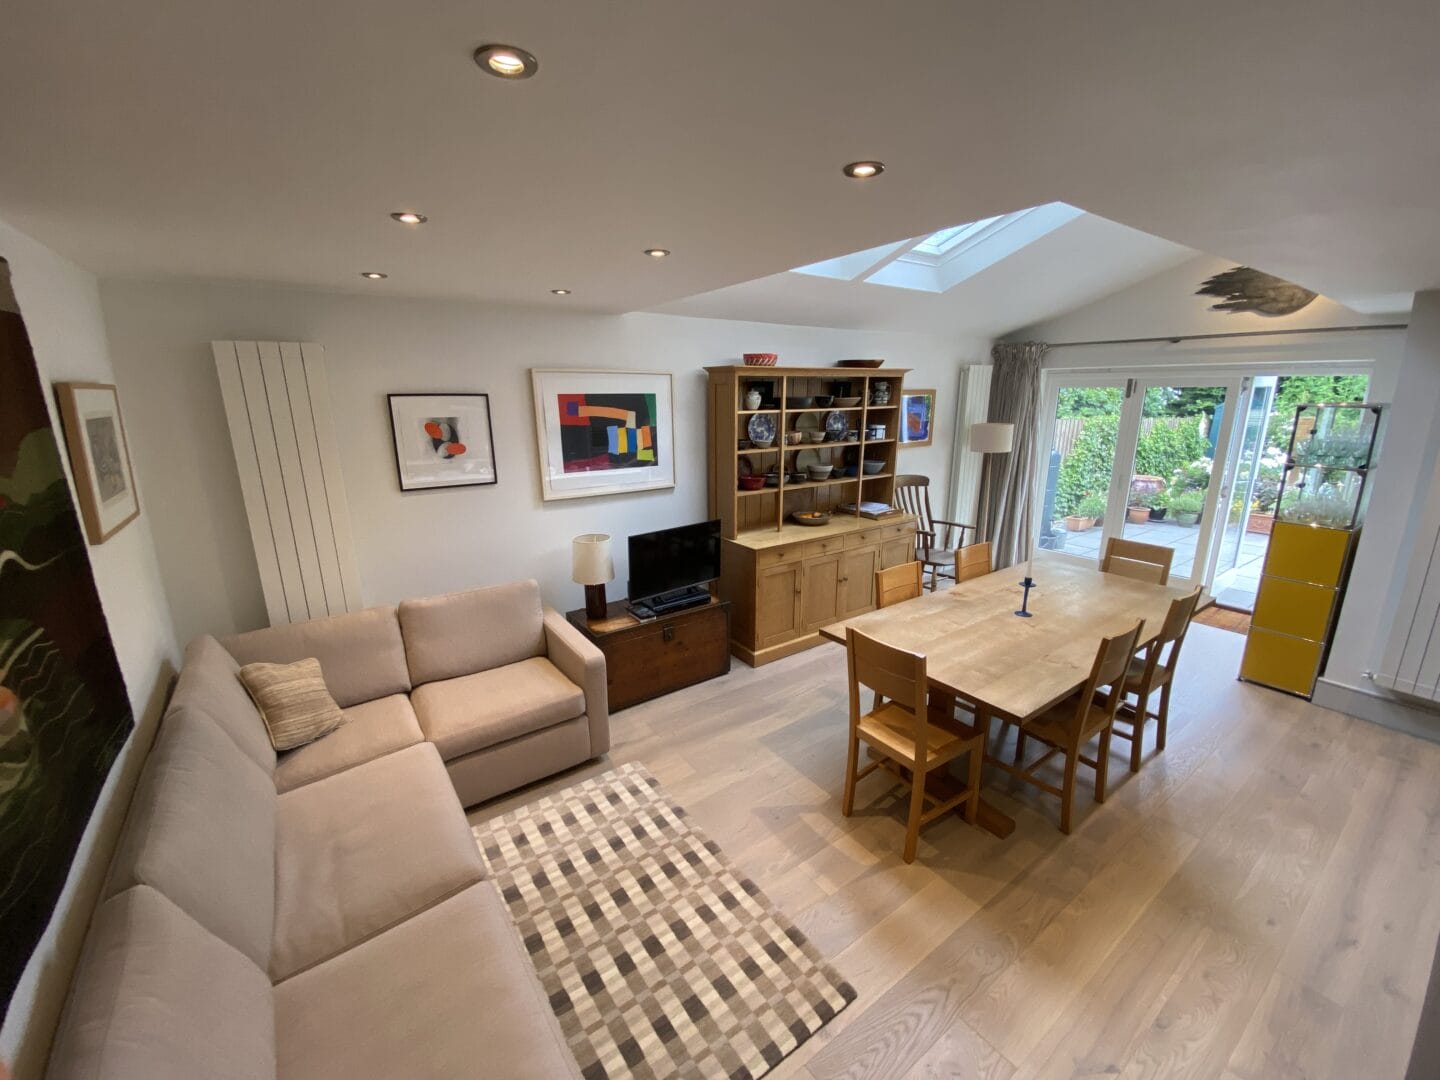
Living Rooms
A natural fit for large, low-moisture spaces where a floating floor's stability and quick installation both work in its favour.
Bedrooms
Equally well suited, with the added benefit of a good acoustic underlay for a quieter room.
Dining Rooms
Fine for floating installation, though heavier furniture (large dining tables, dressers) should sit on floor protectors to avoid pressure marks over time.
Home Offices
A good option, particularly where noise reduction from an acoustic underlay is a bonus for calls and concentration.
Kitchens
Possible, but moisture management becomes more important given spills and higher humidity; manufacturer-approved moisture protection is essential here.
Hallways
Well suited, though busier, narrower spaces benefit from careful board layout to avoid excessive cutting.
Basements (subject to moisture control and manufacturer approval)
Basements carry the highest moisture risk of any room in the house, so this is very much a check-first-fit-later situation. Some manufacturers approve engineered wood for below-grade installation with the right vapour barrier; others don't recommend it at all.
Initial care: allow the floor a short settling period and avoid heavy loads or excessive humidity swings in the first few weeks.
Cleaning recommendations: a soft-bristle vacuum or dry mop for daily upkeep, and a manufacturer-approved wood floor cleaner rather than steam mops or excess water.
Furniture protection: felt pads under chair and table legs prevent scuffing and dents, and door mats reduce grit being tracked across the surface.
Maintaining indoor humidity: keeping the home within a stable humidity range year-round reduces the seasonal expansion and contraction that causes gapping.
Preventing scratches and moisture damage: wipe up spills promptly, avoid dragging heavy furniture across the floor, and keep pet claws trimmed where relevant.
If you're weighing up whether floating installation is right for your home, booking an appointment at our Cambridge showroom is a straightforward way to see samples in person and talk through your specific room before deciding.
Floating installation remains one of the most popular ways to fit engineered wood flooring, and it's easy to see why: it's quick, cost-effective and adaptable to a wide range of subfloors and rooms. But the method's simplicity can be deceptive; the result only holds up if the subfloor is properly prepared, the right underlay is chosen, and the manufacturer's installation instructions (particularly around moisture testing and expansion gaps) are followed to the letter. Get those fundamentals right, and a floating engineered wood floor should serve a home well for many years.
If you're planning a project and want to see how different wood flooring options would actually look and feel in your home, our Cambridge showroom is worth a visit, or if underfloor heating or moisture in a particular room is a concern, it's worth talking it through with us before you buy.
Article Sources