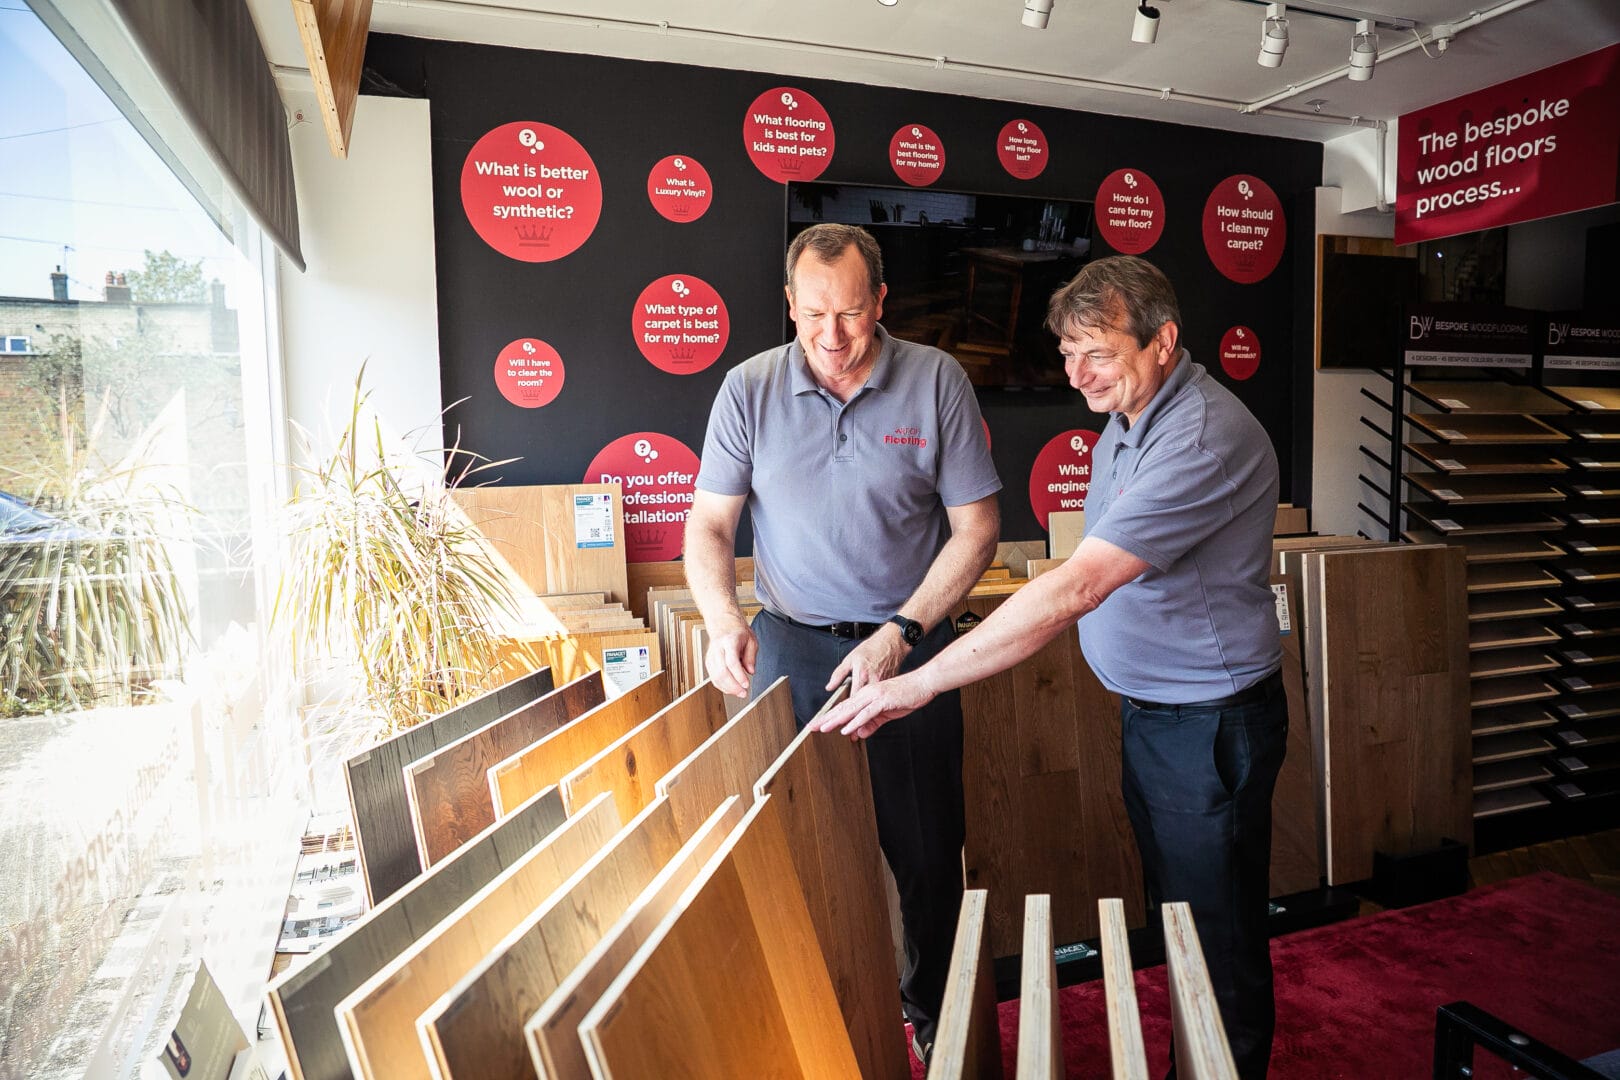
To enable us to give you our full attention during your showroom visit, please book an appointment
- Opening Hours
Showroom Open by Appointment Only
Monday - Friday 9:00am - 5:00pm
Saturday or Sunday 9:00am - 3:00pm

To enable us to give you our full attention during your showroom visit, please book an appointment
Rows of laminate-style click boards can look almost identical to real wood on a showroom rack, which is exactly why so many people ask the same question before they buy: will this actually go down as easily as it looks? With engineered wood, the answer is usually yes, but only once the boards, the subfloor and the room itself are properly prepared.
Click-lock engineered wood flooring is a real-wood floor with a tongue-and-groove edge that snaps the boards together without nails, staples or glue. The planks "float" over an underlay rather than fixing to the subfloor beneath, which is why the method is so popular for DIY projects. A straightforward room can typically be fitted in a day or two once the subfloor is ready and the flooring has acclimatised, though larger or more complex layouts take longer. Careful subfloor preparation and acclimatisation matter more to the result than the click system itself.
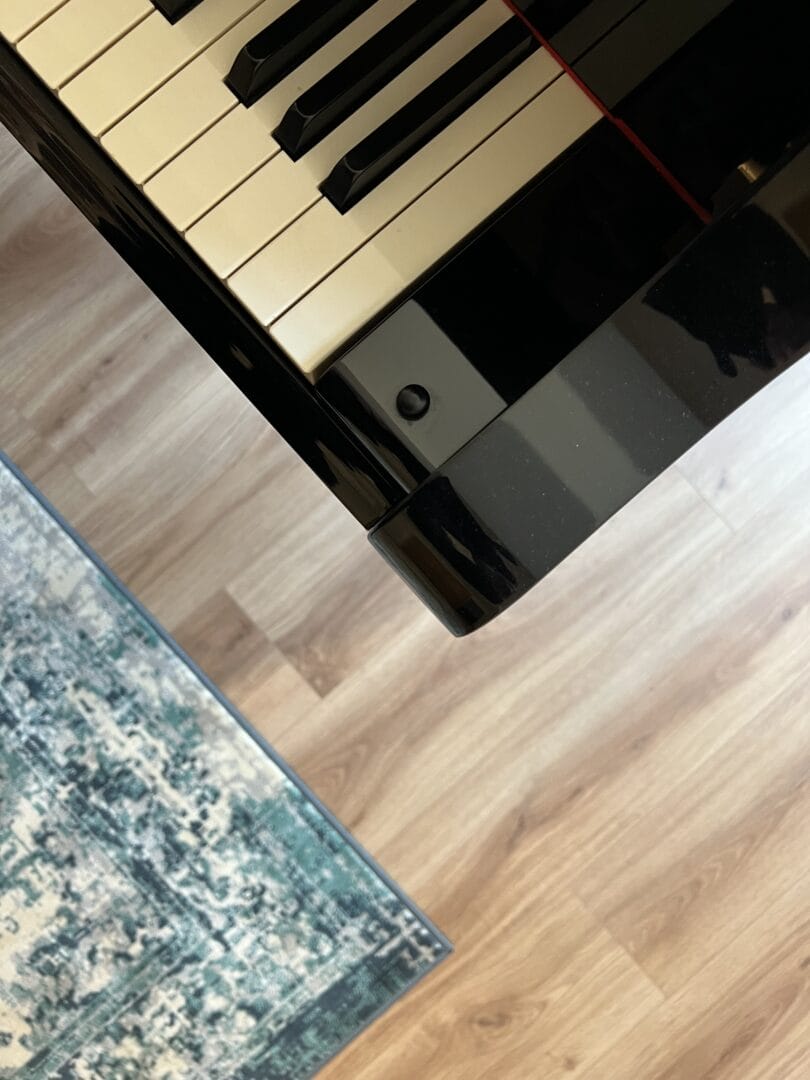
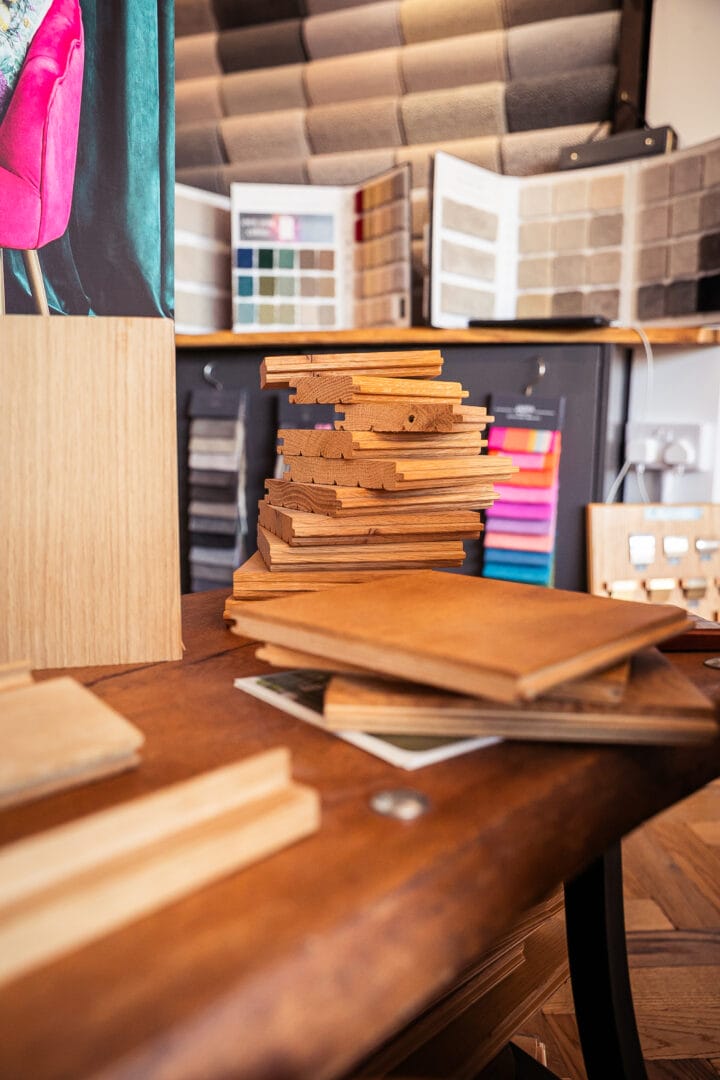
An engineered board is built in layers rather than cut from a single piece of timber. A real hardwood wear layer sits on top of a plywood or HDF core, and it's this layered structure that gives engineered wood more dimensional stability than solid wood, particularly where humidity fluctuates. You can read more about the construction in our guide to engineered wood flooring.
The click-lock system itself is a mechanical tongue-and-groove joint. Instead of glueing or nailing each board down, you angle the new plank into the one before it and press or tap it flat, and the joint locks itself. Because the boards aren't fixed to the subfloor, the whole floor floats as one connected sheet, moving very slightly as a unit with changes in temperature and humidity rather than each board moving independently.
Click systems appeal for a few practical reasons: faster fitting than glue-down or nail-down methods, a cleaner job site with no adhesive to manage, easier replacement of an individual damaged board, and lower installation costs, particularly where a homeowner is comfortable fitting it themselves.
| Click-Lock | Glue-Down | Nail-Down | |
| Installation speed | Fast | Moderate | Moderate |
| Difficulty | Low–Moderate | Moderate–High | Moderate–High |
| Typical cost | Lower | Higher | Higher |
| Best subfloor | Most flat, stable subfloors | Concrete or timber | Timber only |
| Repairs | Straightforward | Difficult | Difficult |
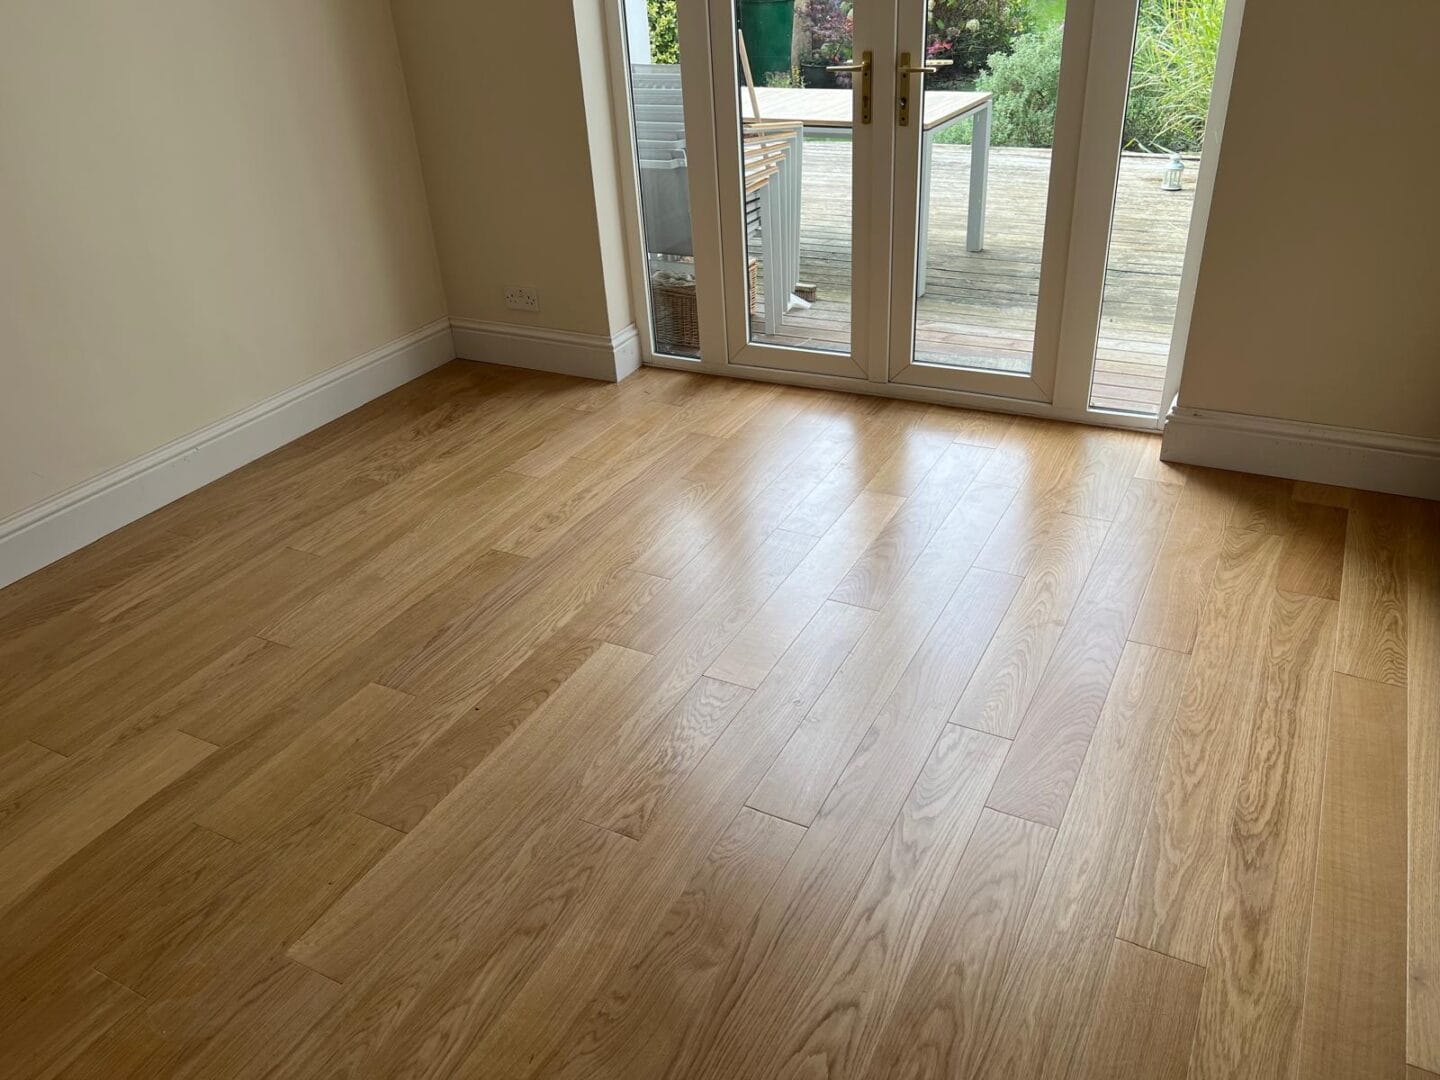
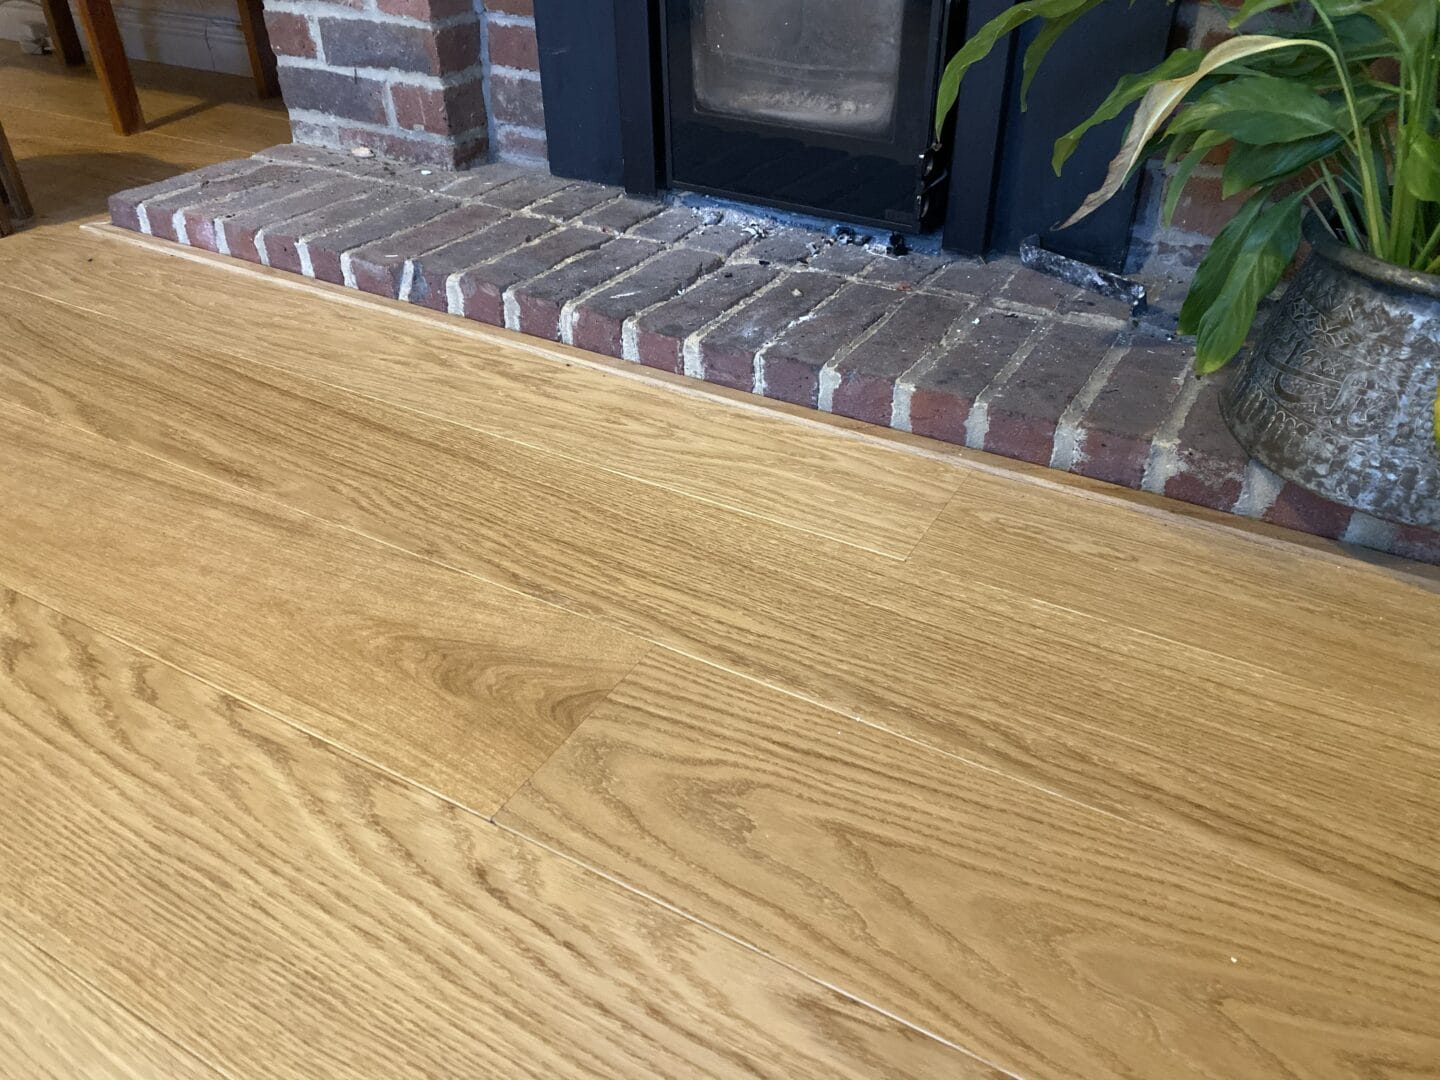
Concrete subfloors need to be fully cured, flat and tested for residual moisture before flooring goes down. Timber subfloors should be structurally sound, free of squeaks, and flat within tolerance. Existing hard flooring, such as tiles, can often be floated over if it's flat and stable, though this should always be confirmed against the manufacturer's guidance first. Moisture is the recurring theme across all three: Quick-Step's installation guidance and the National Wood Flooring Association's technical guidelines both treat subfloor moisture testing as a non-negotiable step, not an optional extra.
DIY suits a confident, patient fitter working in a simple, regularly shaped room with a sound subfloor. Bringing in a professional makes more sense for large open-plan spaces, awkward layouts, underfloor heating, or where a manufacturer's warranty depends on certified installation.
| DIY | Professional | |
| Cost | Lower | Higher |
| Time | Longer, around other commitments | Faster, dedicated time |
| Warranty | May be limited | Often fully covered |
| Tools required | Bought or hired | Already owned |
| Skill level | Moderate, learnable | Experienced |
Avoid heavy foot traffic and furniture for the first 24–48 hours while the floor settles. Use felt pads under furniture legs, clean with a well-wrung mop rather than a wet one, and keep indoor humidity reasonably stable year-round. Beyond that, ordinary vacuuming and the occasional proper clean are enough to keep it looking right for years.
| Engineered Wood | Solid Hardwood | Laminate | LVP | |
| Installation | Click or glue | Nail or glue | Click | Click or glue |
| Durability | High | High | Moderate | High |
| DIY-friendly | Yes | Limited | Yes | Yes |
| Water resistance | Moderate | Low | Low–Moderate | High |
| Refinishing | Possible (wear-layer dependent) | Multiple times | Not possible | Not possible |
It tends to suit busy households, homes with pets and children, flats where noise transfer matters, and renovation projects where a fast, tidy fit is a priority. It can also work well in rental properties, since individual boards are easier to replace than with a glued or nailed floor. Underfloor heating compatibility varies by product, so always check this is manufacturer-approved before committing.
Click-lock engineered wood flooring offers a genuinely accessible installation method for many DIY projects, without sacrificing the look and feel of real wood. What actually determines the result, though, is rarely the click system itself; it's the preparation around it: an honest subfloor assessment, proper acclimatisation and sensible moisture management. Get those right, and the clicking together is the easy part.
If you're weighing up whether a project like this is one to tackle yourself or hand to a professional, it's worth visiting our Cambridge showroom to see and feel the boards in person, or exploring our wood flooring range for options suited to your subfloor and room.