To enable us to give you our full attention during your showroom visit, please book an appointment
- Opening Hours
Showroom Open by Appointment Only
Monday - Friday 9:00am - 5:00pm
Saturday or Sunday 9:00am - 3:00pm

To enable us to give you our full attention during your showroom visit, please book an appointment
Choosing between floating, nailing and glueing a new wood floor down isn't just a fitting detail. It changes how the floor feels underfoot, how quiet the room is, and how well the floor copes with a busy Cambridge household for the next twenty years. Glue-down is the method most often recommended for concrete subfloors, open-plan extensions and homes with underfloor heating, and it's worth understanding properly before you commit.
Glued-down engineered wood flooring is bonded directly to the subfloor using a specialist flooring adhesive, rather than floating on an underlay or being nailed to timber joists. This creates a solid, stable floor with reduced movement and noise. It's commonly recommended for concrete subfloors, large open-plan spaces and homes with underfloor heating, provided the adhesive and flooring are manufacturer-approved for that use. While highly durable, glue-down installation demands more subfloor preparation and precision than a floating floor, so it rewards patience.
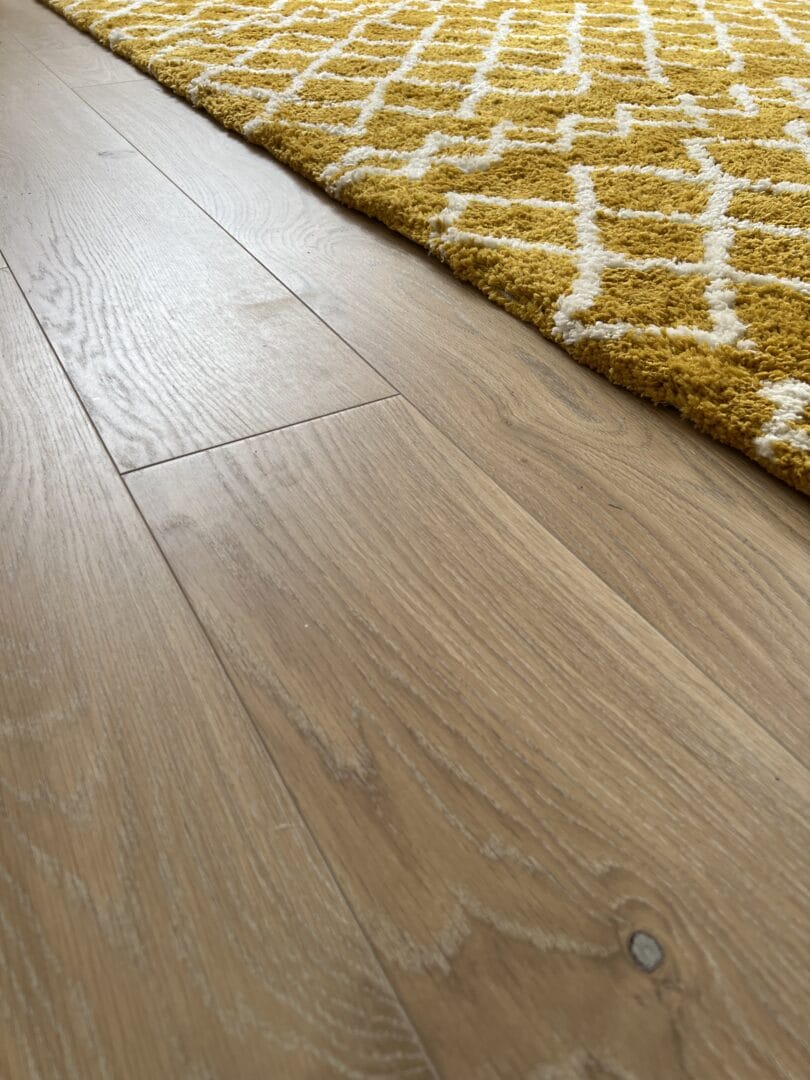
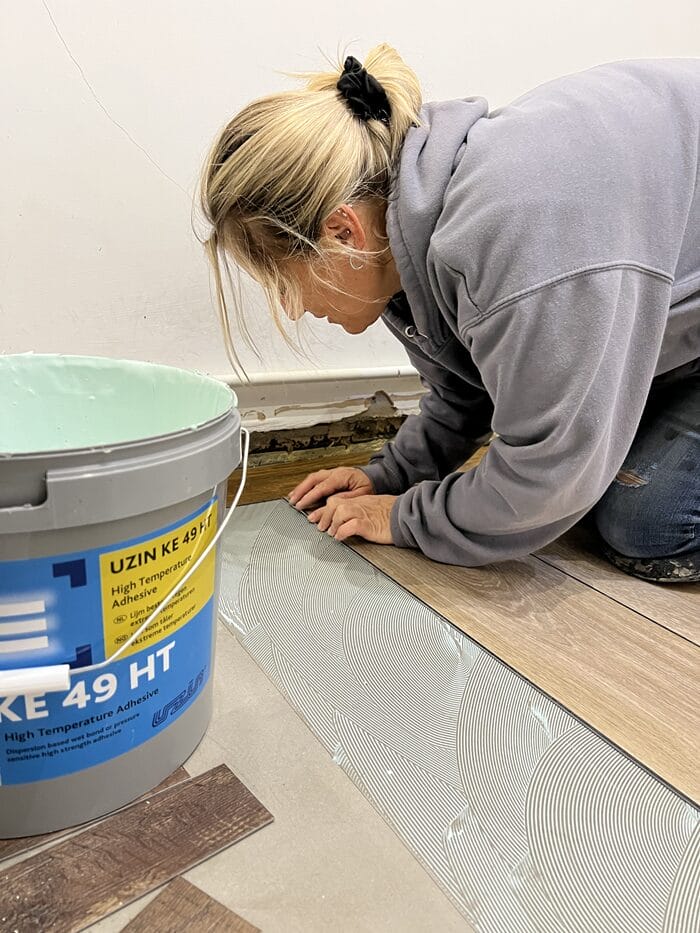
Engineered wood boards are permanently bonded to the subfloor using a flooring adhesive spread across the surface with a notched trowel. Unlike a floating floor, there's no underlay layer and no movement between the plank and the subfloor once the adhesive cures. The bond itself does much of the structural work, which is why subfloor condition matters so much with this method.
A floating floor clicks together and sits on an underlay, unattached to the subfloor. A nail-down floor is fixed mechanically through the tongue into a timber subfloor. Glue-down sits between the two in terms of DIY difficulty, but ahead of both for stability on concrete.
| Installation Method | Attached to Subfloor | Installation Difficulty | Stability | Best Applications |
| Glue-Down | Yes, permanently bonded | Moderate to high | Excellent | Concrete subfloors, large rooms, underfloor heating |
| Floating | No, sits on underlay | Low | Good | Quick fits, rental properties, uneven subfloors |
| Nail-Down | Yes, mechanically fixed | Moderate | Very good | Timber subfloors, traditional properties |
Bonding the boards to the subfloor across their full surface limits the natural expansion and contraction of the timber, giving a more dimensionally stable floor than a floating alternative.
Floating floors can sound hollow underfoot because of the air gap created by the underlay. A fully bonded floor sits directly on the subfloor, so footsteps sound and feel more solid.
Without an underlay's give, a glue-down floor has a firmer, more grounded feel, which many homeowners associate with a genuine hardwood floor rather than a floating one.
In open-plan kitchens and extensions, a bonded floor resists the shifting and gapping that can appear in a floating floor across a wide, unbroken span.
Many engineered wood ranges are approved for warm water underfloor heating when installed with a compatible adhesive, since the full-surface bond helps transfer heat evenly. Always check the specific product and adhesive against the manufacturer's approved temperature limits.
Glue-down suits:
Tools: notched adhesive trowel, tape measure, chalk line, spirit level, rubber mallet, flooring roller (if required), pull bar, spacers, mitre saw, jigsaw, utility knife, moisture meter, cleaning cloths.
Materials: engineered wood flooring, flooring adhesive, primer (where required), damp-proof membrane (if required), underlay (only if specified by the manufacturer for a hybrid system).
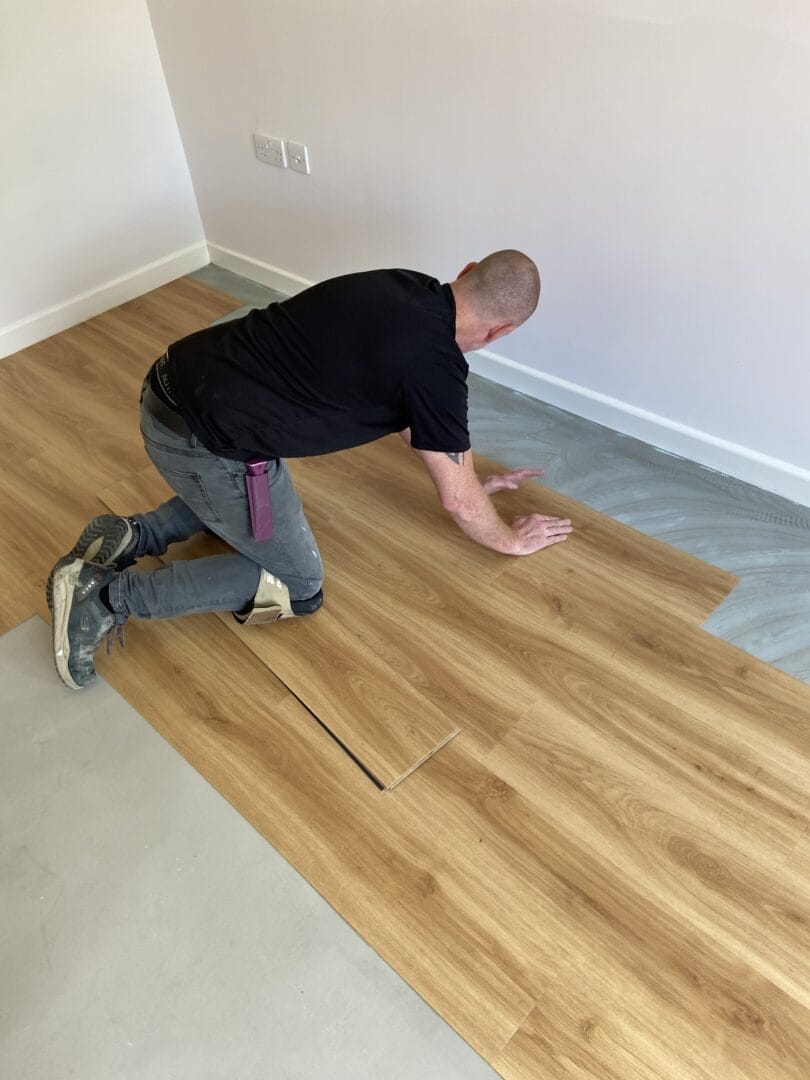
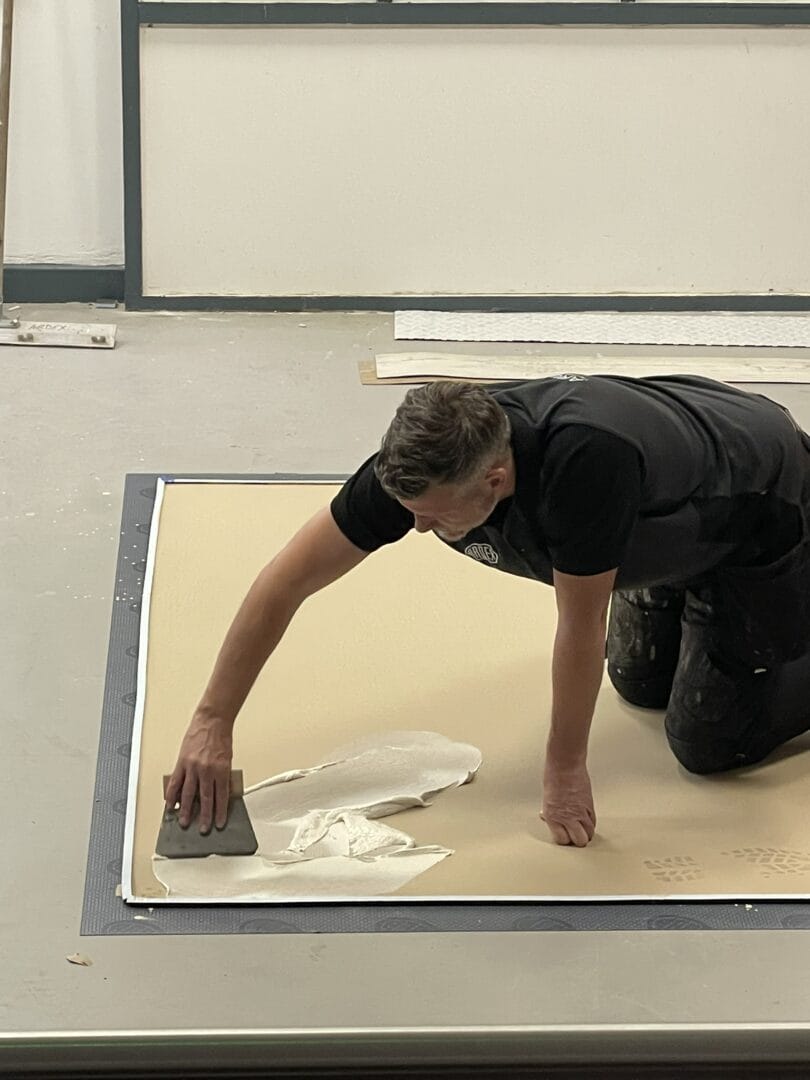
A successful glue-down installation is decided before the adhesive is ever opened.
Leave boards in the room for the period the manufacturer specifies, so the timber settles to the room's temperature and humidity before fitting.
Decide board direction, mark centre lines, dry fit a few rows, and plan cuts to avoid narrow, awkward-looking slivers at the edges.
Use the trowel notch size the adhesive manufacturer recommends, work in sections you can cover within the adhesive's open time, and avoid spreading more than you can lay boards into.
Set spacers for the expansion gap, keep the first rows straight against your chalk line, and press boards down firmly and evenly into the adhesive.
Stagger the end joints between rows, check alignment regularly rather than at the end, clean any adhesive off the surface immediately, and keep joints tight.
Door frames, pipes, kitchen islands and staircases all need careful scribing and cutting rather than forcing a board to fit.
Fit skirting boards or scotia trim over the expansion gap, then leave the adhesive to cure fully before allowing foot traffic, following the adhesive's stated curing time.
Not all adhesives suit all situations, and getting this wrong is one of the most common causes of a failed installation.
Bostik's technical guidance on hardwood flooring adhesives is a useful starting point for matching an adhesive to your subfloor, board width and underfloor heating requirements.
| Feature | Glue-Down | Floating | Nail-Down |
| Installation Cost | Higher | Lower | Moderate |
| DIY Difficulty | Moderate to high | Low | Moderate |
| Stability | Excellent | Good | Very good |
| Noise Reduction | Excellent | Fair | Good |
| Repairs | More difficult | Easier | Moderate |
| Installation Speed | Slower | Fast | Moderate |
| Underfloor Heating Compatibility | Excellent (with approved products) | Good | Not typically suitable |
Lower labour cost and full control over timing, provided you have the tools and patience for careful subfloor preparation.
Moisture testing, adhesive selection and working within open time all require a level of precision that's easy to underestimate on a first attempt.
Large open-plan areas, uneven or unusual subfloors, and properties with underfloor heating all benefit from a professional fitter who can guarantee the workmanship.
Costs vary considerably by region, subfloor condition, board choice and room size, so it's worth getting a site-specific quote rather than working from a general figure.
Allow the full curing time before moving furniture back in. Sweep or vacuum rather than mop heavily in the first days, and use a damp, not wet, mop for ongoing cleaning. Fit felt pads under furniture legs, and keep indoor humidity reasonably stable to protect the bond and the timber over the long term.
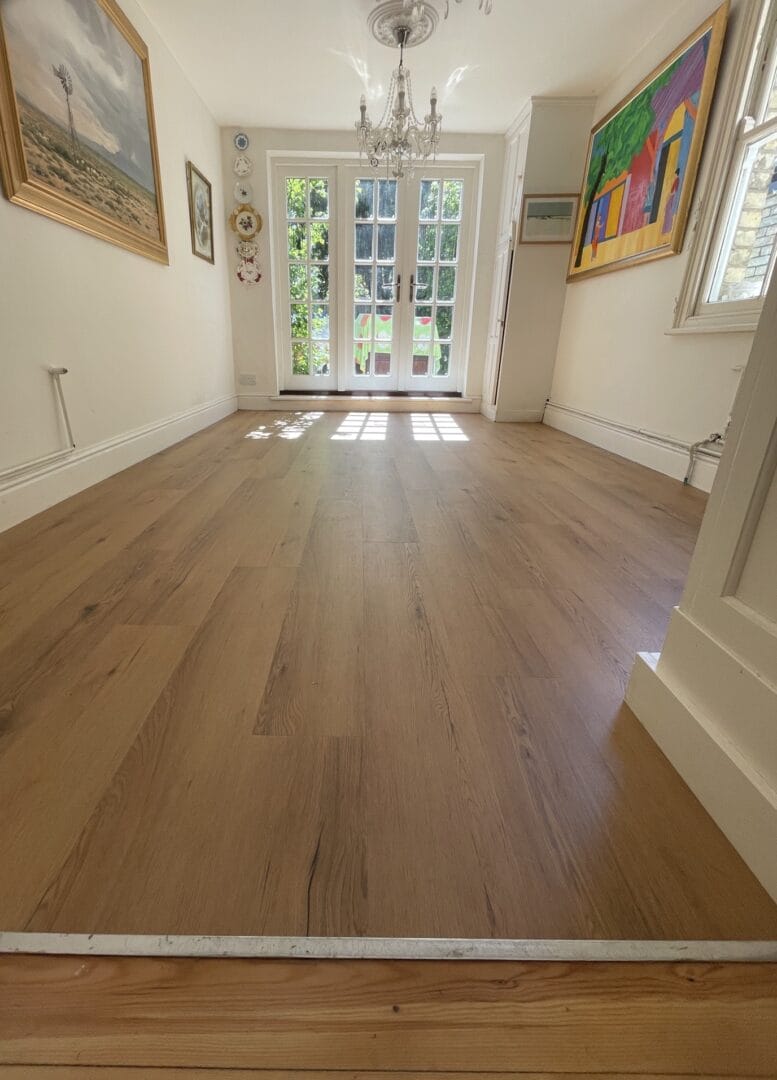
Glue-down installation gives engineered wood flooring a durable, stable and genuinely premium finish, especially on concrete subfloors and in open-plan spaces. Getting there depends on careful subfloor preparation, the right adhesive for your specific setup, and installation techniques followed correctly from acclimatisation through to curing. Following manufacturer guidance throughout also protects your warranty and the floor's lifespan. For larger areas or more complex layouts, a professional installation often delivers the best long-term result. If you're weighing up whether glue-down is right for your project, it's worth talking it through with a flooring specialist who can assess your subfloor and recommend a suitable engineered wood range.