To enable us to give you our full attention during your showroom visit, please book an appointment
- Opening Hours
Showroom Open by Appointment Only
Monday - Friday 9:00am - 5:00pm
Saturday or Sunday 9:00am - 3:00pm

To enable us to give you our full attention during your showroom visit, please book an appointment
If you want to install engineered wood flooring properly, the job starts before the first board is laid. You need a clean, dry, level subfloor, the right installation method for the room, and enough time for the boards to acclimatise. Get those basics right, and your new floor is far more likely to feel solid, quiet, and built to last. Manufacturer guidance consistently puts site conditions, acclimatisation, and moisture testing at the centre of a successful installation.
Engineered wood flooring appeals to homeowners because it gives them the look of real timber with greater dimensional stability than many solid wood floors, which makes it a practical option for modern homes, renovations, and some underfloor heating setups when the product is specified for it. Ted Todd and Woodpecker both stress that installation success depends heavily on site preparation and following the product-specific fitting method.
To install engineered wood flooring, prepare the subfloor so it is clean, dry, sound, and level, let the boards acclimatise in the room, choose the correct installation method for the subfloor, lay the planks row by row with the right expansion gap, then finish with trims and thresholds. Moisture control and subfloor preparation matter as much as the fitting itself.
What is Engineered Wood Flooring?
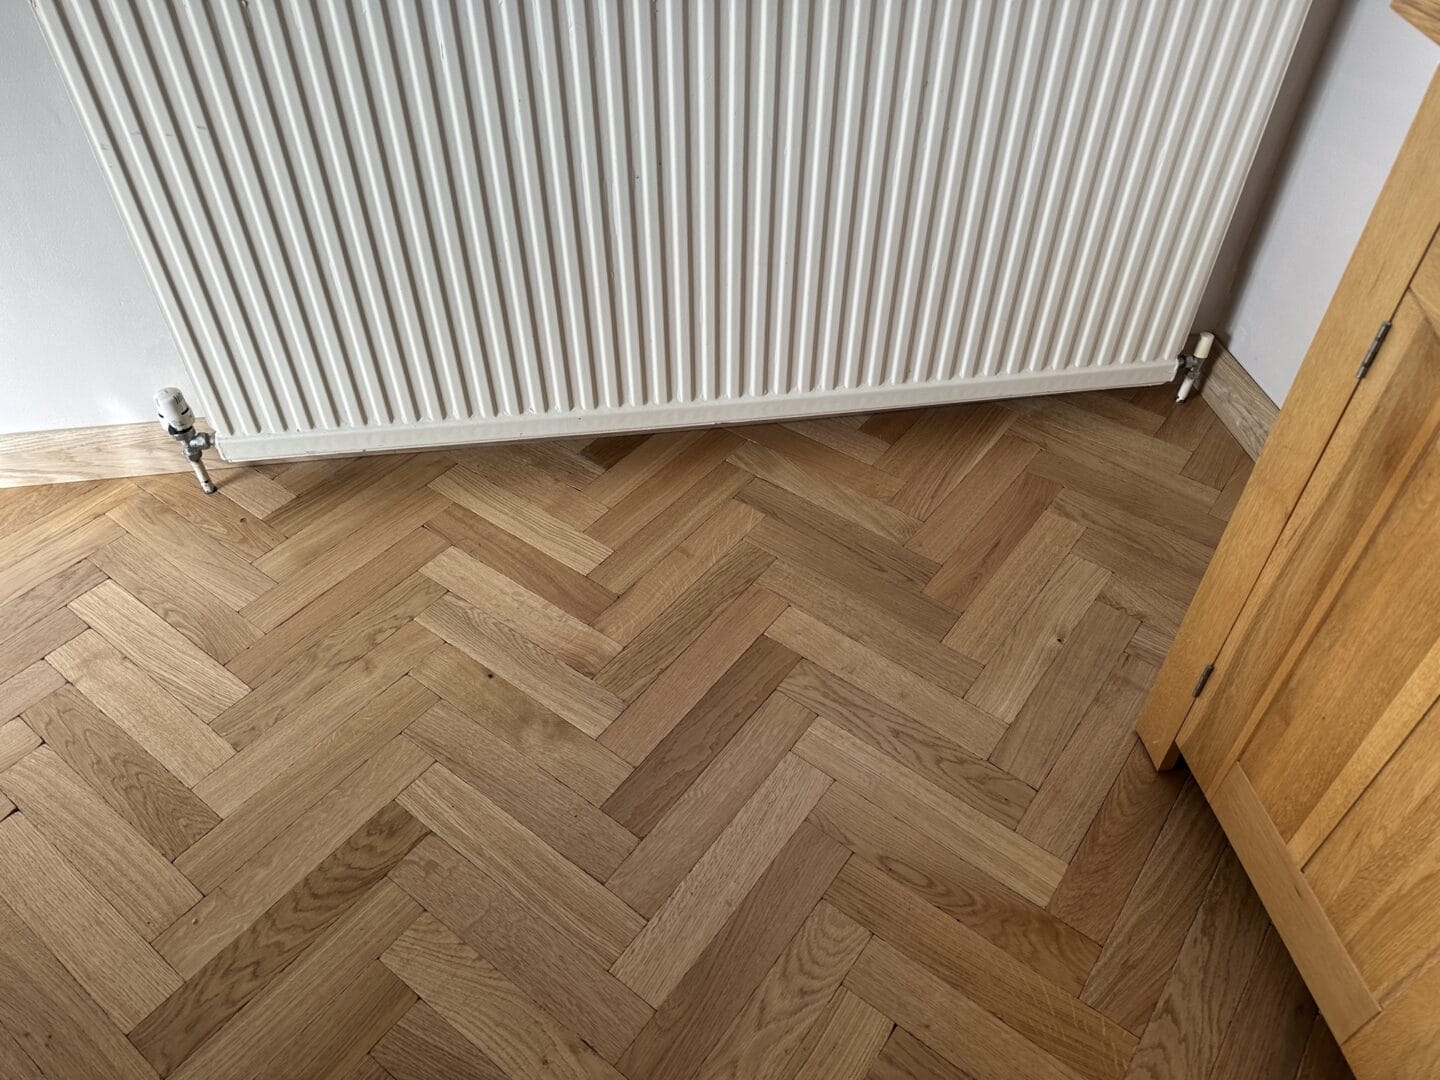
An engineered wood floor has a real hardwood top layer bonded to a layered core beneath. That layered construction helps improve stability, which is one reason it is often chosen for family homes, flats, and rooms where temperature and humidity shift through the year. It is still a wood floor, so it still needs correct acclimatisation, moisture control, and fitting.
A practical market signal also supports the demand for this kind of flooring. Mordor Intelligence reports the wider UK floor covering market reached about USD 4.46 billion in 2025, reflecting sustained homeowner demand for flooring upgrades and replacement projects. That is not a direct engineered wood share figure, but it does support the broader renovation context in which engineered wood remains a popular category.
Tools and Materials you’ll Need
Before installing engineered wood flooring, gather the basics:
Pro Tip: Do not treat underlay, adhesive, or moisture protection as optional extras. They are part of the installation system. On concrete in particular, the wrong moisture setup can shorten the life of the floor or cause movement after fitting.
Leave the packs in the room for the period recommended by the manufacturer before installation. Woodpecker says boards should be laid flat in the centre of the room for three to four days beforehand, and the room conditions should be close to normal living conditions.
Moisture is one of the biggest risks in any wood floor installation. Woodpecker states that even when a subfloor looks dry, it may still contain excess moisture, and recommends professional moisture testing before installation. Their guidance says readings should not exceed 70% relative humidity for cement-based concrete and 11% wood moisture equivalent for wooden subfloors or joists.
The subfloor should be clean, flat, sound, and free from contamination. Woodpecker states the surface beneath the floor must be in good structural condition, free from damp rot, fungal or insect infestation, and flat with uneven areas not exceeding 3mm over a 2m area.
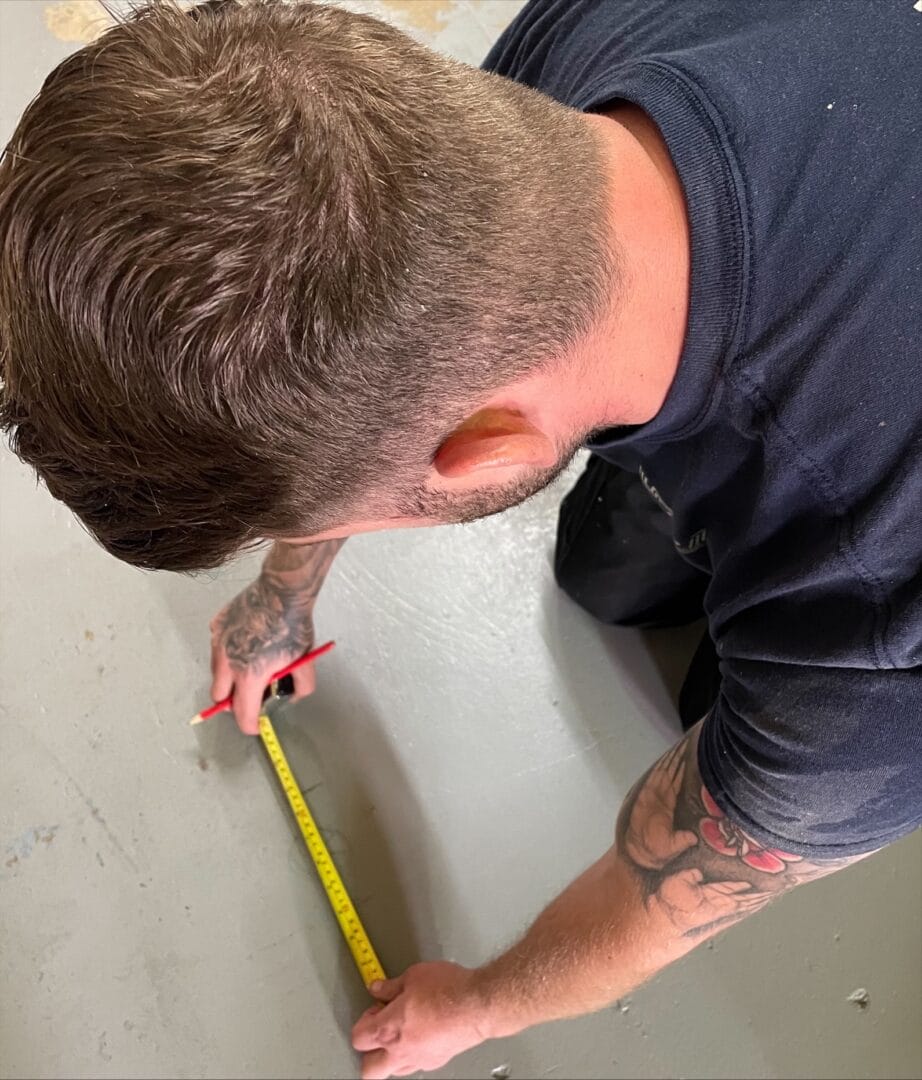
Measure the room properly, allow for the perimeter gap, and order extra material for cuts and waste. Before installation begins, decide plank direction and check how the last row is likely to finish so you do not end up with an awkward sliver of board. Woodpecker specifically recommends calculating row widths before you start.
| Installation Method | Best for | What to Know |
| Floating installation | Click systems and simpler rooms | Often, the easiest route for careful DIY fitting |
| Glue-down installation | Concrete subfloors and a firmer feel underfoot | Needs precise subfloor prep and the correct adhesive |
| Nail or staple down | Suitable timber subfloors and specific board thicknesses | Better suited to fitters with the right tools |
Ted Todd states engineered floors can be glued to the existing subfloor, floated over the correct underlay and adhesive system, and that 20mm products can be nailed to timber subfloors. Price Your Job also notes that click-lock systems are the easiest for DIY work, while glue-down and nail-down methods tend to require more expertise.
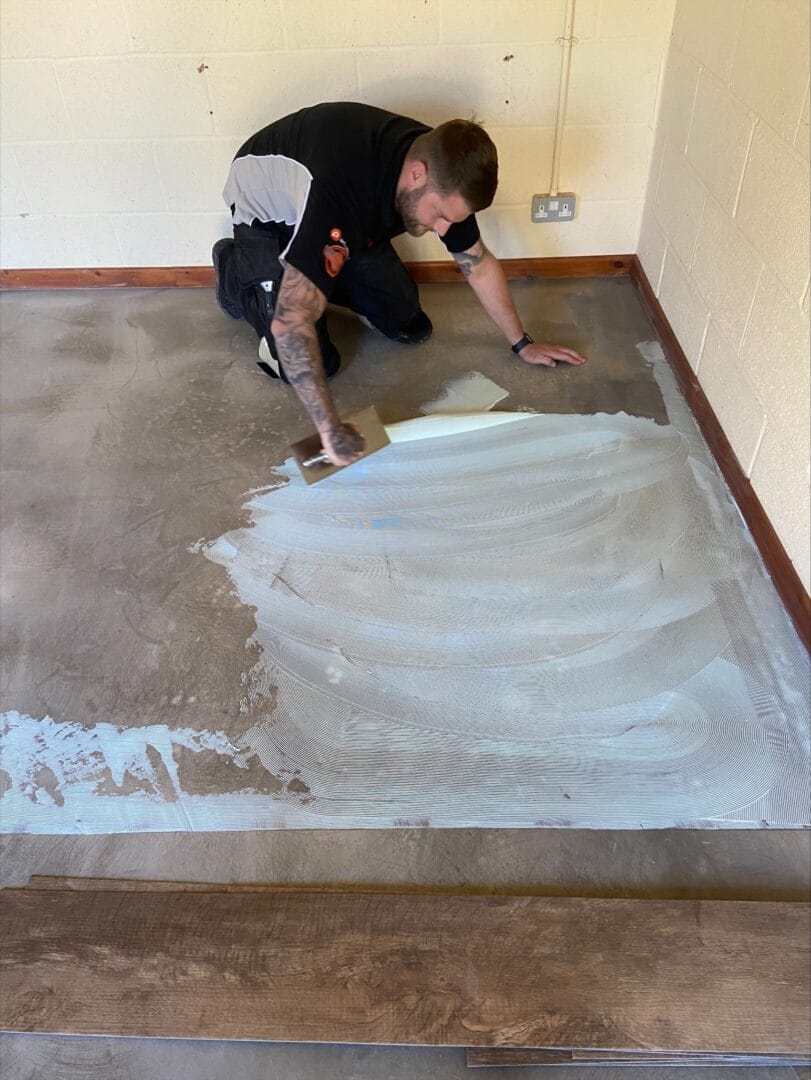
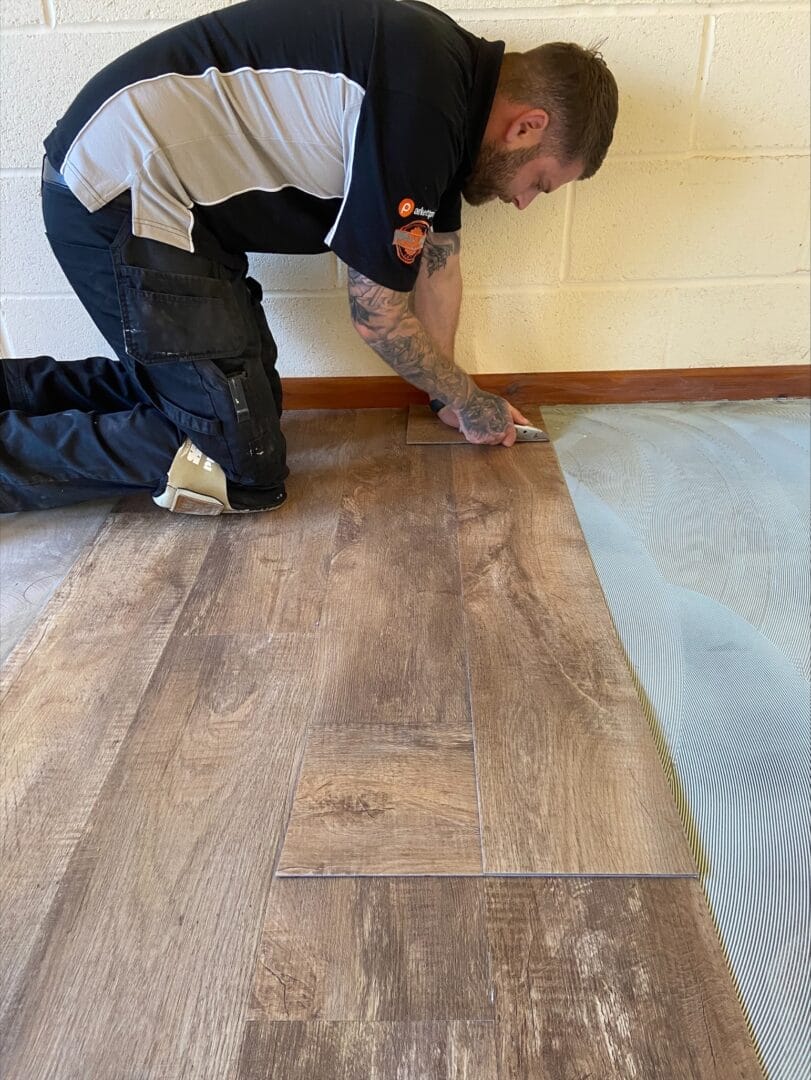
If your system requires underlay, lay that first. If you are fitting engineered wood flooring on concrete, install the correct damp-proof membrane or vapour control layer where specified. This is one of the key differences between a floor that looks good on day one and one that still performs well later.
Start from the straightest wall and use spacers to maintain the expansion gap around the perimeter. Take your time here. A careless first row usually creates problems all the way across the room. Woodpecker also recommends working out the row widths in advance so the final row is not too narrow.
Connect the boards carefully, following the product’s click or tongue-and-groove system. Stagger the end joints for strength and appearance. Woodpecker’s Endura instructions say to connect the long side first, then use a block and mallet to tap the header joint into the next plank, while warning not to use a rubber mallet directly on the flooring surface because it can damage the joints.
As you reach the last row, measure each plank properly before cutting. Older homes rarely give you perfectly straight walls, so this is not the place to guess.
Door frames, pipes, hearths, and corners need tidy cutting and patience. This is where a floor starts to look professionally fitted or visibly rushed.
Remove the spacers, fit thresholds and trims, and check the floor for tight joints, movement, or obvious gaps before calling the job finished.
The usual failures are predictable: skipping acclimatisation, ignoring moisture testing, fitting over an uneven subfloor, choosing the wrong installation method, and failing to leave the expansion gap. Those mistakes are rarely dramatic on the day, but they are the problems most likely to show up later as movement, noise, or joint issues. Manufacturer guidance repeatedly puts site conditions, moisture testing, and expansion control at the centre of good installation practice.
The cost depends on board quality, room size, layout complexity, subfloor preparation, and whether you fit it yourself or use a professional. Price Your Job says engineered wood flooring typically ranges from about £25 to £100 per m², depending on material and labour, with labour often sitting around £15 to £25 per m². Their guide also suggests a small room may take one to two days, a medium room two to three days, and a larger ground-floor project three to five days. Checkatrade’s broader 2026 wood flooring guide says installation costs often sit around £250 per day and that a small room may take one to two days, while a three-bed house could take up to a week.
For homeowners, the useful distinction is this: DIY may reduce labour cost on a straightforward click system, but professional fitting usually reduces risk where the room is uneven, the layout is awkward, or concrete moisture is a concern. Price Your Job makes the same point, noting that click systems are the easiest to install but also that DIY mistakes often involve poor expansion gaps and misaligned boards.
A small room may take one to two days. A medium room often takes two to three days. Larger or more complex spaces can take three to five days or more, especially if levelling, moisture mitigation, or old floor removal is needed first. In practice, the prep usually decides the timeline more than the board itself.
Once the floor is down, keep the care simple. Wipe up spills promptly, avoid excessive water, and use a cleaner designed for wood floors. Stable indoor conditions also help protect the floor over time because wood continues to respond to its environment.
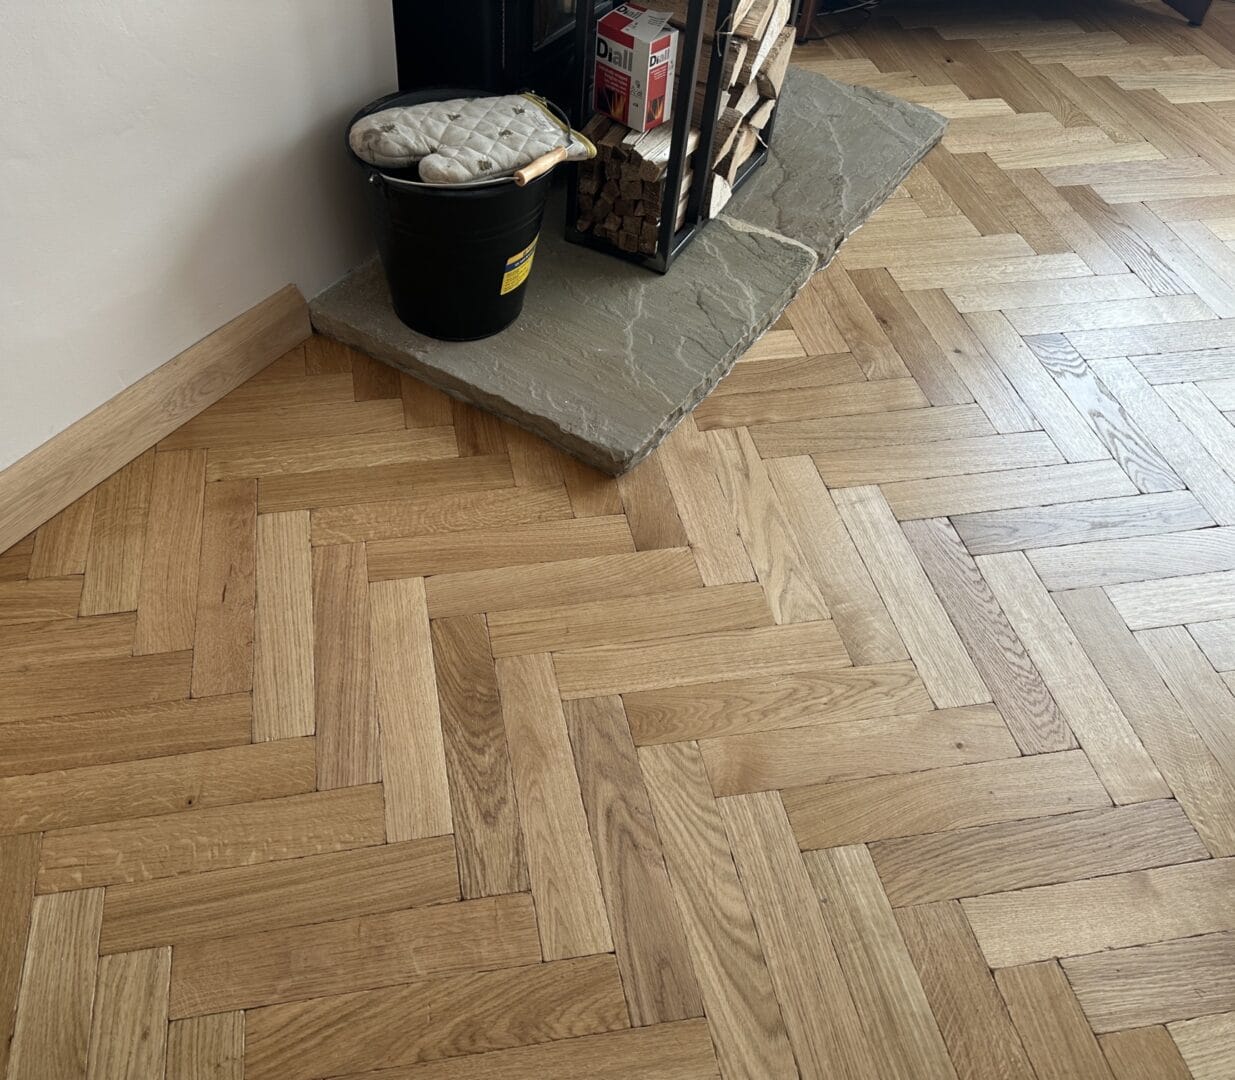
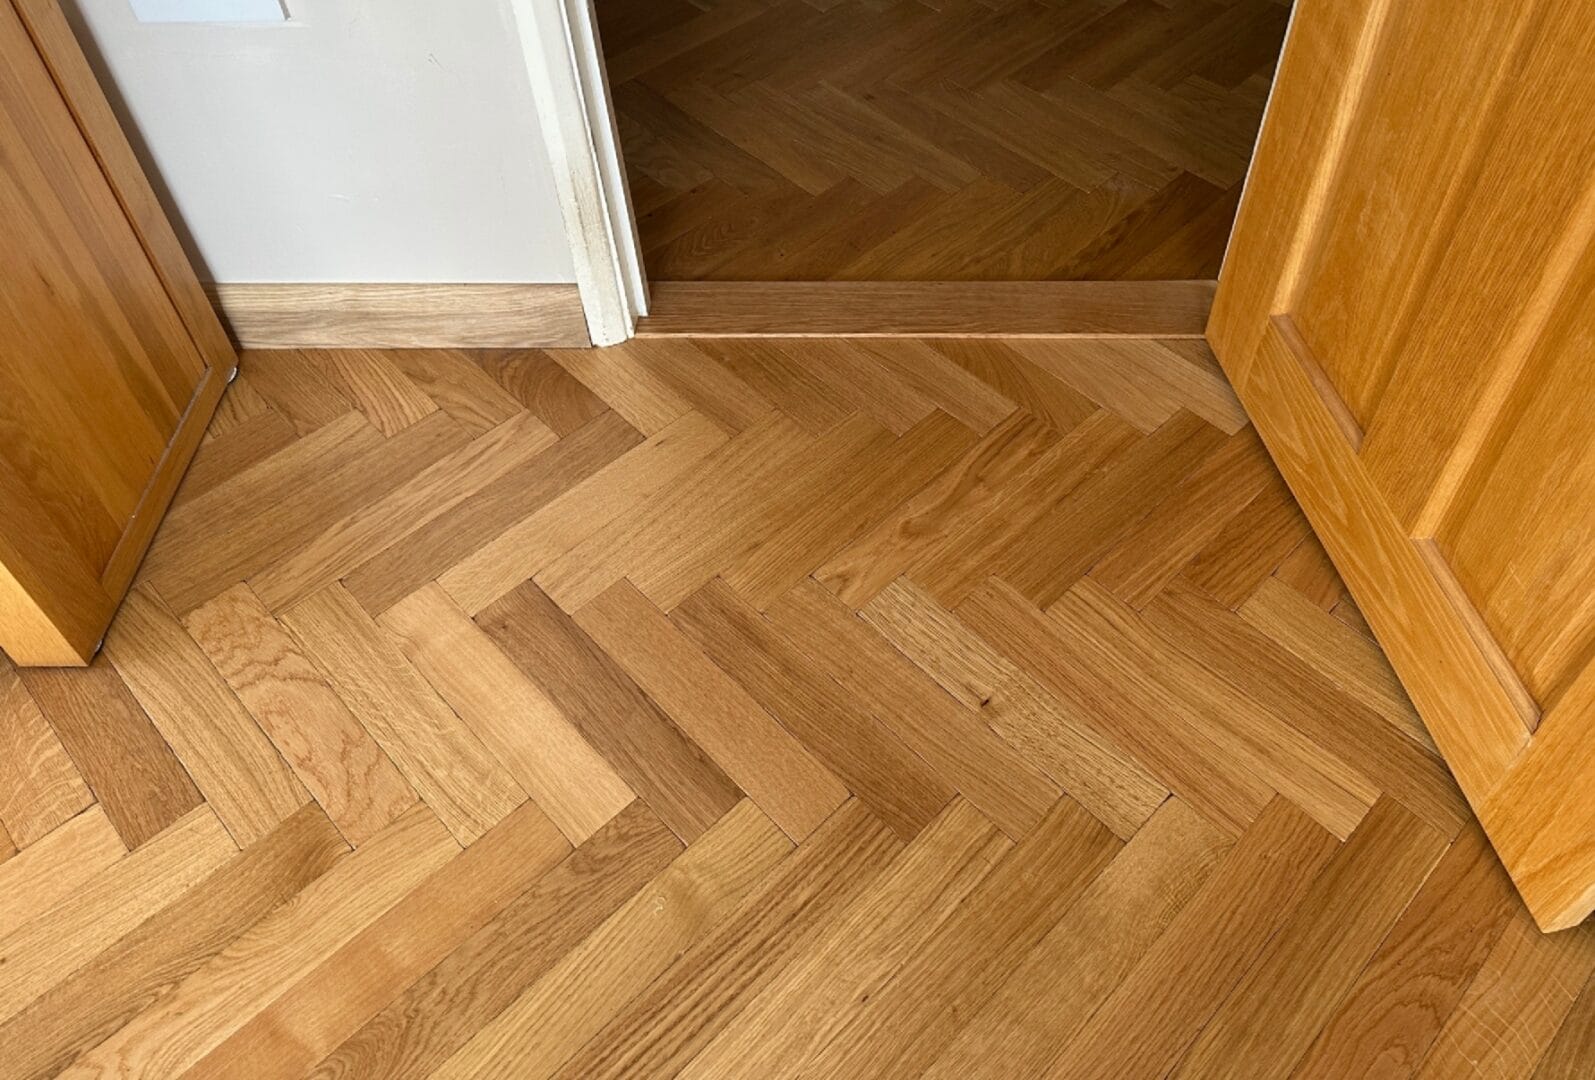
The best professional advice is not glamorous. Test the base. Control the moisture. Pick the right fitting method for the subfloor rather than the one that looks quickest. Ted Todd’s technical guide is blunt on this point: successful wood floor installation depends on getting the site conditions correct, planning the timing properly, and making sure subfloors and services are compatible with the installation.
If you are fitting engineered wood flooring on concrete, be stricter still. That is the area where poor moisture control causes the most avoidable problems. If you are unsure whether the subfloor is ready, pause there rather than pushing on.
A floor usually fails from what was missed underneath it, not from how good the boards looked in the showroom.
Installing engineered wood flooring well is less about rushing through the fitting and more about getting the groundwork right. If the subfloor is sound, the moisture is under control, and the method matches the room, the finished floor has a far better chance of looking right and lasting well. The sensible next step is to check your subfloor type, compare fitting methods, and get clear on what prep work is actually included before you buy or book an installer.